Cut Every Pipe To The Required Length Without Slowing Down Your Line
We manufacture automatic pipe cutting machines for PVC, HDPE, PE, PPR and other plastic pipe extrusion lines. Your cutting system is configured around the pipe material, diameter, wall thickness, line speed, cut length and end face you need, with chipless, planetary, saw cutting and cut and chamfer solutions for different production conditions.

Pipe Material
PVC / HDPE / PE / PPR / PP
Pipe OD Range
According To Your Production Range
Wall Thickness
Matched To Pipe And Cutting Method
Line Speed
Reviewed With Your Required Cut Length
Cut Requirement
Cut Only / Cut + Chamfer / Chipless
Explore Pipe Cutting Solutions
Sixteen sections, from picking the cutting method your pipe actually needs to what you measure before you sign off. Jump straight to whatever matches where your project sits right now.
Cutting Method
Chipless, planetary, saw
Cutting Machines
Models across pipe ranges
Length Synchronization
Same length, every cut
Cut Quality
Square ends, clean face
Dust And Chip Control
Chips out of your line
Pipe Clamping
Hold without deforming
High-Speed Cutting
Cutting at full line speed
Diameter Change
Changeover between sizes
Tooling Requirements
Blades, knives, chamfer tools
Existing Line Integration
Adding to a running line
Wear Parts
Blades, jaws, seals, belts
Machine Maintenance
Daily checks and service
Factory Manufacturing
Frame, machining, assembly
Machine Inspection
Checked before it leaves
Acceptance Testing
Run test with your pipe
FAQ
Voltage, lead time, warranty
Which Cutting Method Fits Your Pipe?
The right cutting method depends on more than pipe diameter. Your pipe material, wall thickness, production speed, required cut length and the condition you need at the finished pipe end all affect which cutting system is suitable. Compare the main methods below before you settle on a machine configuration.
| Cutting Method | Best Considered For | Main Advantage | What To Check |
|---|---|---|---|
| Chipless / Knife Cutting Low Swarf | Selected PE, PP, PPR and other suitable pipe applications | Little or no cutting swarf and a cleaner pipe end | Material behavior, wall thickness and cutting force |
| Planetary Knife Cutting Wider OD Range | Applications requiring controlled circumferential cutting across a wider diameter range | Controlled cutting around the pipe circumference with low swarf | Cutting cycle, wall thickness and knife penetration |
| Planetary Saw Cutting Thick Wall | Rigid pipe, larger diameters and thicker wall applications | Strong cutting capacity and controlled penetration | Sawdust, chip extraction, blade wear and cycle time |
| Saw Cutting And Chamfering End Prep | Pipes requiring end preparation before socketing or downstream processing | Cutting and chamfering completed in one production cycle | Chamfer angle, depth, dust extraction and repeatability |
| High-Speed / Flying Knife Short Cycle | Smaller pipes, short cut lengths and high production speeds | Short cutting cycle for frequent cuts | Required cuts per minute, material and wall thickness |
Swipe the table sideways to see every column
Chipless / Knife Cutting
Low Swarf- Best Considered For
- Selected PE, PP, PPR and other suitable pipe applications
- Main Advantage
- Little or no cutting swarf and a cleaner pipe end
- What To Check
- Material behavior, wall thickness and cutting force
Planetary Knife Cutting
Wider OD- Best Considered For
- Applications requiring controlled circumferential cutting across a wider diameter range
- Main Advantage
- Controlled cutting around the pipe circumference with low swarf
- What To Check
- Cutting cycle, wall thickness and knife penetration
Planetary Saw Cutting
Thick Wall- Best Considered For
- Rigid pipe, larger diameters and thicker wall applications
- Main Advantage
- Strong cutting capacity and controlled penetration
- What To Check
- Sawdust, chip extraction, blade wear and cycle time
Saw Cutting And Chamfering
End Prep- Best Considered For
- Pipes requiring end preparation before socketing or downstream processing
- Main Advantage
- Cutting and chamfering completed in one production cycle
- What To Check
- Chamfer angle, depth, dust extraction and repeatability
High-Speed / Flying Knife
Short Cycle- Best Considered For
- Smaller pipes, short cut lengths and high production speeds
- Main Advantage
- Short cutting cycle for frequent cuts
- What To Check
- Required cuts per minute, material and wall thickness
Do Not Select By Pipe Material Alone
There is no simple rule such as "PVC must use a saw" or "PPR must use chipless cutting."
Two pipes made from the same material can need completely different cutting systems once diameter, wall thickness, production speed or required end condition changes.
A machine cutting 6 meter pipe at 10 m/min has a very different cycle requirement from a machine cutting 500mm lengths at the same line speed.
We Review Five Conditions First
Pipe Material
PVC, HDPE, PE, PPR, PP or another material you run.
OD Range
Minimum and maximum pipe diameter across your production range.
Wall Thickness
Including the thickest pipe you plan to produce, not only the current one.
Line Speed And Cut Length
Both are needed to calculate the cutting cycle you actually have available.
Finished End Requirement
Cut only, cut and chamfer, low swarf or another end preparation.
Send these production conditions before you select the cutter. We then review the cutting method, the required cycle and the machine configuration against your actual pipe line.
Cutting Machines For Different Production Requirements
Once the cutting method is defined, the machine configuration still has to match your pipe size range, wall thickness, production speed, required cut length and downstream process. We manufacture cutting systems for new extrusion lines, capacity upgrades and replacement of an existing cutter.


Not Sure Which Machine Fits Your Line?
You do not need to select the machine model first. Send your pipe material, OD range, wall thickness, maximum line speed, required cut length and pipe end requirement.
We review those conditions first, then tell you which cutting configuration should be considered for your line.
Keep Cut Length Stable As Line Speed Changes
Accurate pipe length comes from the cutter staying synchronized with a line that never stops moving. The system tracks how far the pipe has travelled, controls where the cut happens and moves the carriage with the pipe through every cutting cycle, so the length you set is the length you get.


Speed Measurement
Pipe movement is measured continuously, so the cutting position follows your actual production speed instead of a fixed timing setting that drifts the moment the line changes.
Carriage Synchronization
The carriage travels with the pipe while it cuts. That removes the relative movement between cutter and pipe, which is where most length deviation and angled cut faces come from.

Coordinated Line Control
Haul-off speed, length measurement, carriage movement and the cutting sequence work as one control loop, so cut length stays consistent through a full continuous production run.
Tell us the cut length you produce, your maximum line speed and the length tolerance you have to hold. Those three numbers decide how the measuring and synchronization system is configured.
Judge Cutting Quality By The Pipe End
A cutting machine has to deliver more than the correct length. Pick up a finished piece and look at the end face: that is where you see whether the cut is square, whether the pipe was held without being deformed, and whether the chamfer holds the same angle all the way around.
Accurate Length
Every finished piece should sit inside the cutting tolerance you work to, at the start of a run and hours into it. Length that drifts across a shift is a synchronization problem, not a measuring problem.
Measure
Cut length, tolerance, drift across a full run
Square Cut
The end face should stay perpendicular to the pipe axis. An angled face shows up later as a poor socket fit, a leaking joint, or a piece your downstream process rejects.
Measure
Face angle to pipe axis, joint fit downstream
Clean Pipe End
Burrs, chips and loose material should be kept to what the selected cutting method can reasonably reach. If your operators are deburring by hand after every cut, the method is wrong for your product.
Measure
Burr height, loose chips, manual rework time

No Pipe Deformation
Clamping and cutting should not leave excessive ovality, dents or visible marks. Thin wall pipe shows this first, so it is the size you should inspect when you judge a clamping system.
Measure
Ovality at the cut end, clamp marks, dents

Consistent Chamfer
Where chamfering is required, the angle and depth should hold all the way around the pipe end and repeat piece after piece. A chamfer that varies around the circumference points at clamping or tool wear.
Measure
Chamfer angle, depth, repeatability around the end
Control Dust And Chips At The Cutting Point
How much dust, chips and loose material end up on your floor is decided by the cutting method, not by the broom. If your pipe needs saw cutting, extraction and collection belong in the machine configuration from the start, not bolted on after the first week of production.

Strong Cutting Capacity, With The Waste Handled
Saw cutting gives you the capability you need on rigid, large diameter or thick wall pipe. Removing material is how it works, so dust and chips come with it.
That part is manageable once it is designed in. Tell us the pipe you run and the configuration gets built around keeping the waste contained instead of spreading it across your workshop.
Configuration May Include

Less Swarf To Deal With In The First Place
Where your pipe material and wall thickness allow it, chipless cutting cuts without removing material. There is far less swarf to extract, collect and clean up.
It is not available for every pipe. Whether it suits your production depends on the material, the wall you run and the cutting force involved, which is exactly what we review before recommending it.
This Can Reduce
Chipless cutting is not suitable for every pipe. Material, wall thickness, diameter and the cutting cycle you need still decide the final solution.
Hold The Pipe Securely Without Deforming It
Clamping is where two problems meet. Too little pressure and the pipe moves while you cut it. Too much and you mark or oval the pipe you just produced. The clamping system has to give you enough holding force and spread that pressure evenly around the pipe, at every diameter you run.
The Pipe Moves While You Cut
Insufficient holding force lets the pipe shift inside the clamp during the cutting cycle. You will usually see it in the finished piece before you see it on the machine.
What You Get
- Angled or uneven cut faces
- Length varying piece to piece
- Vibration through the cutting cycle
Held Firm, Shape Untouched
Controlled pressure, distributed evenly around the circumference. The pipe stays exactly where the cutter expects it and comes out of the clamp the same shape it went in.
What You Get
- Stable pipe position through the cut
- Square end face, repeatable length
- Pipe shape and surface unchanged
You Damage What You Just Made
Excessive pressure deforms the pipe at the clamping point. Thin wall pipe shows it first, and the damage is permanent by the time the piece reaches your stock yard.
What You Get
- Ovality at the clamped section
- Visible marks on the pipe surface
- Local deformation and dents
Clamping force gets set against your thinnest wall, not your thickest. Send the full range you produce and the clamping system is configured so the light pipe survives the same setup that holds the heavy one.
Can The Cutter Keep Up With Your Line Speed?
Line speed on its own does not tell you whether a cutter is fast enough. Your required cut length decides how often the machine has to finish a complete cutting cycle. Same line, same speed, and the demand on the cutter changes completely.
Cut Length
6 m
18s
Between cuts. The cutter has room to clamp, cut, release and return well before the next piece arrives.
Cut Length
0.5 m
1.5s
Between cuts. The whole cycle including the carriage return has to fit inside that window, every single time.
What Actually Determines Cutting Capacity
Three things decide whether a cutter holds your production, and none of them appear as a single number on a datasheet.
Cutting Cycle
Clamping, cutting and release all have to finish before the next cut is due. The cycle is the real limit, not the cutting stroke on its own.
Carriage Return
The carriage has to travel back and be ready for the next cycle without ever interrupting pipe movement on the line.
Cuts Per Minute
Shorter cut lengths raise cutting frequency even when your extrusion speed never changes. That number is what the machine gets sized against.
When you ask about a high-speed cutter, send both numbers: your maximum line speed and your required cut length.
Change Pipe Diameter Without Guesswork
Moving from one pipe size to the next is rarely just a clamp adjustment. Cutting depth, tool position, pipe support and machine settings all have to match the new diameter and wall thickness. Get one of them wrong and you find out in the first pieces off the line.

Clamping Adjustment
The clamping position and contact area have to suit the new diameter. Too much pressure marks the pipe, too little lets it move mid cut, and you see both in the finished piece rather than on the machine.
Cutting Depth
Blade or knife penetration gets set against the new diameter, wall thickness and cutting method. A depth that works on a heavy wall does not carry over to a light one.
Tool Position And Support
The cutting tool, the pipe support and the related positions may all need resetting, so the pipe stays centered and stable from the start of the cycle to the end of it.
Cutting Recipe
Where the machine uses recipe based control, cutting position, tool depth and cycle parameters are stored per pipe size. A size you already run comes back without teaching the machine again.
How much of this stays manual and how much gets stored depends on the machine configuration. Tell us which sizes you switch between and how often you switch, and the changeover method is specified against that instead of a standard setup.
Settings Or Tooling? Confirm It Before The Order
Before you add a new pipe diameter, confirm which adjustments are made by setting changes and which need size specific tooling or parts. That answer decides whether a new size is a ten minute changeover or a purchase order and a wait.
Know What Tooling Each Pipe Size Requires
A wider pipe range does not automatically mean one set of tooling covers every specification you produce. What you need depends on diameter, wall thickness, material, the cutting method and whether the pipe end has to be chamfered.
Cutting Blades And Knives
Blade or knife selection follows your pipe material, wall thickness and cutting method. Different production conditions call for different tool geometry, so the tooling gets picked against what you actually run rather than supplied as a default set.
Matched To
Pipe material · Wall thickness · Cutting method · Tool geometry
Clamping And Pipe Support
Depending on the machine design and the diameter range it covers, some clamp components or pipe supports need adjustment, and some need size specific parts to hold your pipe correctly across the full range.
Matched To
Pipe OD range · Wall thickness · Contact area · Machine design

Chamfer Tooling
If your pipe has to be chamfered, the tooling has to match the chamfer profile, angle and depth you need, together with the pipe size. Send the chamfer requirement at the same time as the cut length, not after the machine is quoted.
Matched To
Chamfer profile · Angle · Depth · Pipe OD · Wall thickness
Shared Tooling Or Size Specific Parts
We go through your production range and identify which tooling covers the whole range and which items are tied to a specific pipe size. You get that list before the configuration is fixed, so adding a size later is a known cost instead of a surprise.
- Which tooling covers your full pipe range
- Which items are required per pipe size
- What is worth holding as spare tooling
Wear Parts To Plan For From The Start
Cutting tools and contact parts wear down as you produce. Nobody can hand you a fixed replacement interval, because it moves with your pipe material, wall thickness, cutting method, production volume and how hard the machine runs. What you can do is know which parts wear, and what they look like when they are due.


Saw Blades
Fitted on saw cutting systems and in direct contact with pipe material through every single cutting cycle. Blade life moves with the material and wall you run, so the same blade lasts very differently on thin PPR than on heavy wall PVC.
Watch For
Cutting Knives
Used in chipless and knife cutting configurations, where the finished pipe end depends almost entirely on the condition of the edge. A worn knife shows up in your product long before it shows up as a machine fault.
Watch For
Chamfer Tools
Required when cutting and pipe end chamfering happen in the same process. Because the chamfer feeds a downstream joint, tool wear here reaches your customer faster than any other wear part on the machine.
Watch For
Clamp Pads
These touch your pipe on every cycle and hold it securely without damaging the surface. Worn pads either stop gripping or start marking, and both problems land on the finished pipe rather than in a machine alarm.
Watch For
Dust Extraction Filters
Fitted on cutting systems where dust and fine particles have to be collected. Filters are the part most often forgotten until extraction performance has already fallen and the dust is back on your floor.
Watch For
Tell us your material, wall thickness range and how many hours a day the line runs. We put together a spare parts list for the first year of production instead of a generic parts sheet.

Keep The Cutter Stable Through Routine Maintenance
Most cutting problems build up slowly before they stop your line. Regular cleaning, inspection and adjustment hold your cutting quality where it should be and keep the unplanned stops off your production schedule. Four areas carry almost all of it.
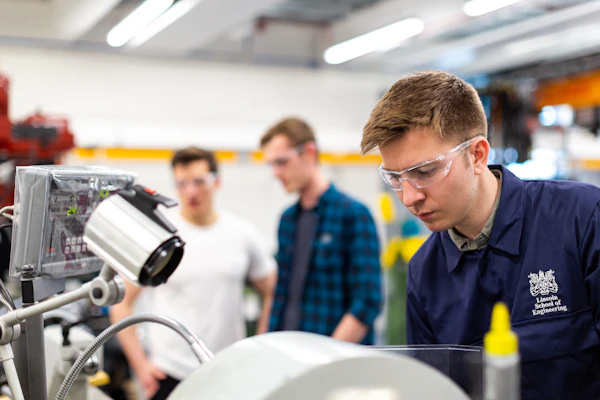
Cutting Area Cleaning
Clear accumulated chips, dust and pipe debris out of the cutting area. Buildup around the blade, the sensors and the moving components is where small problems start.

Cutting Tool Inspection
Check saw blades, knives and chamfer tools the moment burrs increase, cutting turns unstable or the finished pipe end starts to look different from yesterday.

Carriage And Guide Maintenance
Keep carriage guides, linear motion parts and related components clean, lubricated and correctly adjusted, so the cutter keeps travelling smoothly with your pipe.

Clamping And Extraction Check
Inspect clamping contact surfaces for wear and keep the extraction system clear, so the pipe stays stable and cutting debris still has somewhere to go.
Every machine ships with a maintenance schedule written for the configuration you bought, not a generic manual. If your operators are new to this cutter, ask for it before installation so the routine is in place from the first production week.
Built In Our Pipe Cutting Machine Factory
Frame fabrication, machining, carriage assembly, cutting unit installation, electrical wiring and final machine testing. Every cutting machine is assembled and checked here before it leaves.
The photos below cover the manufacturing detail behind the machine, including the parts that decide cutting accuracy, carriage movement and how the cutter holds up through years of continuous production.

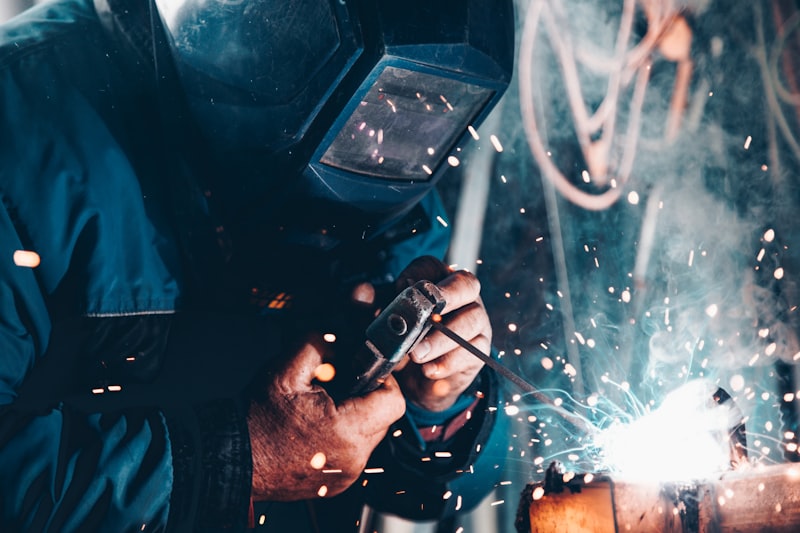

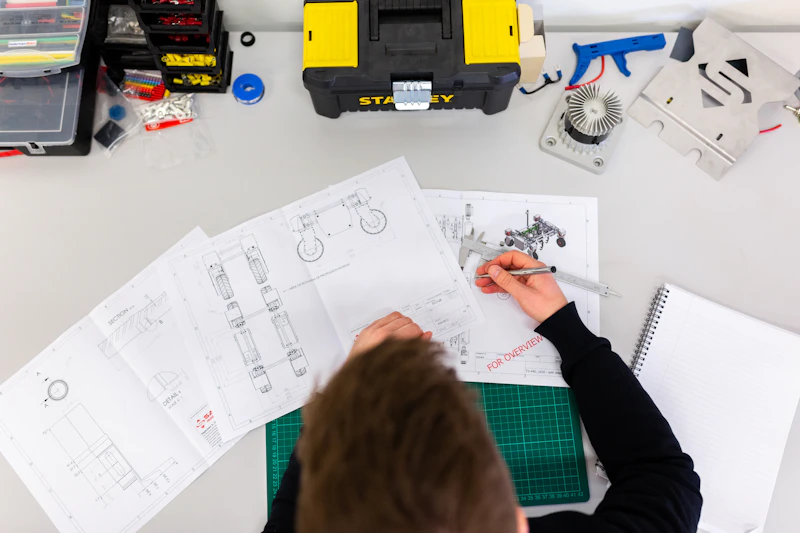




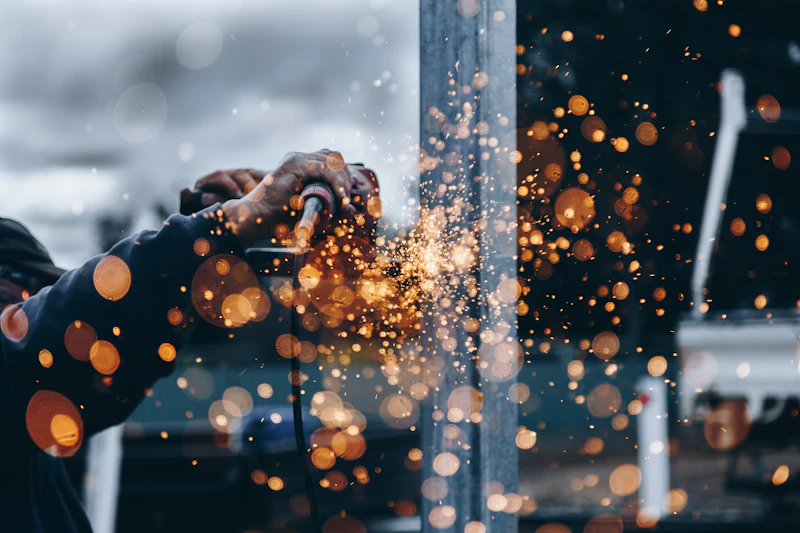
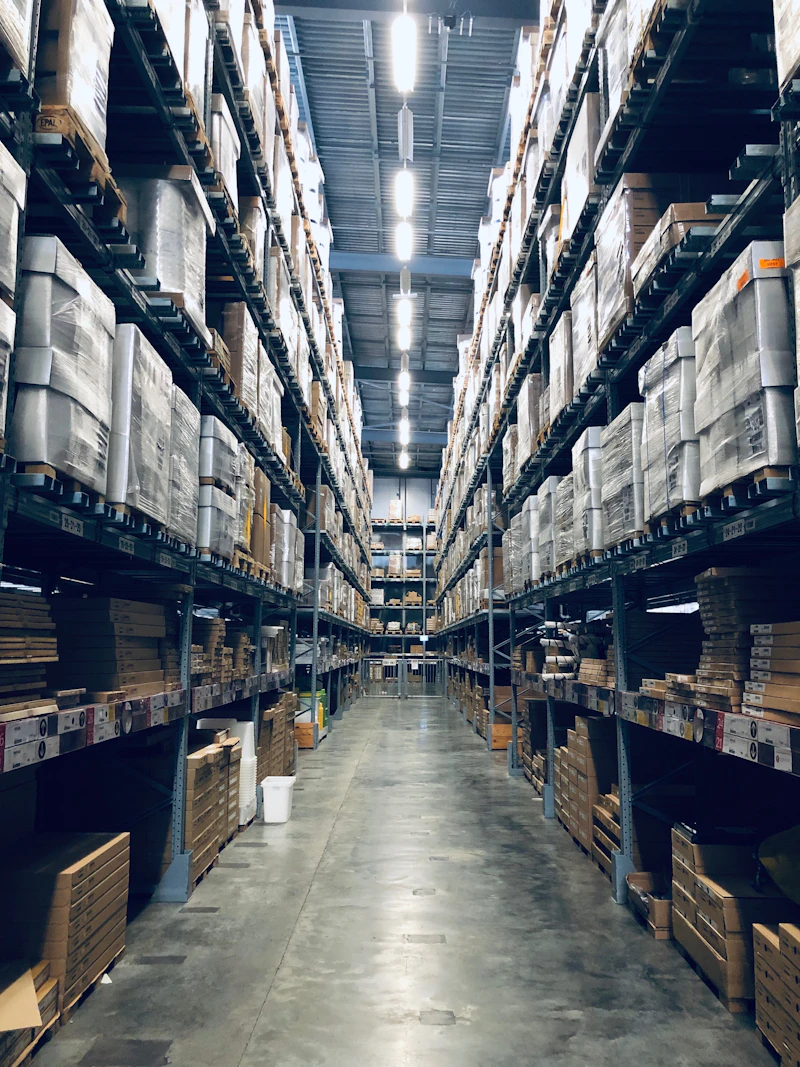
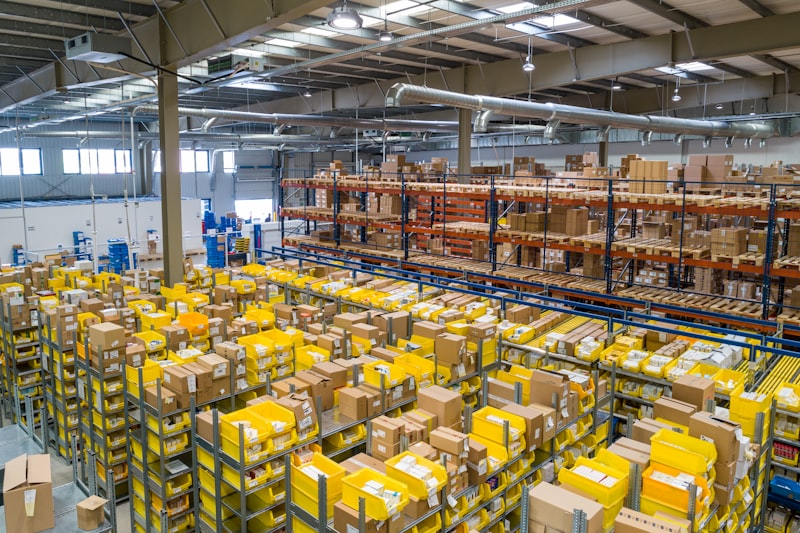
If you want to see a specific part in more detail, the carriage drive, the clamping arrangement or how the cutting unit is mounted, tell us which one and we will send photos of that area from a machine currently in production.
Inspect The Machine Before Cutting Tests Begin
Before anyone runs pipe through it, your machine is checked for mechanical movement, clamping, cutting unit operation, electrical control and safety functions. The point is simple: confirm the machine is correctly assembled first, so the cutting test tells you something about the cutting and not about the assembly.
Stage 01
Carriage And Movement
Carriage travel, guide movement, positioning and return operation are checked across the full working stroke. Motion that binds or hesitates anywhere in that stroke shows up later as length variation, so it gets found here instead.
Stage 02
Clamping And Cutting Unit
Clamp movement, the pipe holding action, blade or knife installation and the cutting unit operation are all verified before any production testing starts. This is the part of the machine that touches your product on every cycle.
 Stage 03
Electrical And Control System
Sensors, PLC functions, operating controls, alarms and the communication signals the cutting sequence depends on are checked one by one. On a line integration project, the signal side is where most of the surprises live.
Stage 04
Safety And Chip Removal
Guards, emergency stop functions and the dust or chip extraction equipment are inspected against your machine configuration. Whatever safety standard applies in your market is confirmed at this stage, not discovered at your factory gate.
You do not have to take our word for any of it. Ask for the inspection record, photos of each stage or a video walkthrough before the machine is packed, and tell us if you want to attend the inspection in person.
Test The Cut, Not Only The Machine
Final acceptance should come from the pipe in your hand after cutting, not from a checklist about the machine. Where suitable test material and production conditions are available, we run repeated cutting tests to confirm the machine holds the result you need across consecutive pieces.
Checked On The Finished Pipe
05 ChecksCut Length
Finished pipe length is measured against your specified target and tolerance, on the first pieces and again after the machine has been running.
Cutting Squareness
The cut face is checked for perpendicularity to the pipe axis, so no angle deviation reaches your downstream jointing or socketing process.
End Face Quality
The pipe end is inspected for excessive burrs, chips, rough edges and anything else the cutting process leaves behind that your product cannot carry.
Pipe Shape
Clamping and cutting must not leave unacceptable ovality, dents or deformation. Your thinnest wall is the piece worth checking here, not the heaviest.
Chamfer And Repeatability
On cut and chamfer applications, angle, depth and consistency are checked around the end. Consecutive cuts are run, because one good piece proves nothing about a production shift.
Send the tolerances you work to before the test, along with pipe samples or material if you can. Acceptance criteria agreed in advance is what makes the test result mean something to both sides.
Pipe Cutting Machine FAQ
The questions buyers ask before they commit to a cutter. If yours is not here, send it to Maggie and you will get a straight answer rather than a brochure.
01 Which cutting machine is suitable for PVC pipe?
There is no single cutting method that covers every PVC pipe. The right choice comes from your pipe diameter, wall thickness, line speed, required cut length and whether you need chamfering. Rigid or thicker wall PVC often points toward saw or planetary cutting, but the final configuration should be confirmed against your actual production conditions.
02 Which cutting method is suitable for HDPE, PE and PPR pipe?
Chipless or knife cutting is often considered for suitable PE, HDPE and PPR applications, because it can reduce chips and cutting dust. Material grade, wall thickness, pipe diameter and the cutting cycle you need still have to be reviewed before the method is confirmed.
03 What is the difference between a planetary cutter and a chipless cutter?
A planetary cutter moves the tool around the pipe circumference, which helps when you need controlled penetration. A chipless cutter uses a knife based method built to minimize material removal and swarf. Which one suits you depends on pipe material, wall thickness, diameter and required production speed.
04 When should I use saw cutting instead of knife cutting?
Consider saw cutting when your pipe material, wall thickness or diameter needs stronger material removal than a knife cutting system can deliver. Saw cutting can generate more dust and chips, so extraction and collection belong in the machine configuration from the start.
05 How do you determine whether the cutter can keep up with my extrusion line?
We need both your maximum line speed and your required cut length. Those two values decide how often the cutter has to complete a full cycle, including synchronization, clamping, cutting, release and carriage return. Short cut lengths can demand a far faster cycle even when your line speed never changes.
06 What causes unstable or inaccurate pipe cutting length?
Length variation is often not the cutter alone. Haul-off speed variation, pipe slip, speed measurement, encoder signals, carriage synchronization and control response all affect the final cut position. The cutter should be reviewed together with the upstream conditions on your line.
07 How can cutting dust and chips be reduced?
On saw cutting systems, an enclosed cutting area, extraction and chip collection help control debris. Where your pipe material and wall thickness allow it, chipless cutting reduces swarf further. Even so, the cutting method should be selected around your pipe requirement, not around dust reduction alone.
08 Can the machine cut and chamfer the pipe in one cycle?
Yes. Suitable cutting systems can be configured for combined cutting and chamfering. Confirm the chamfer angle, depth, pipe diameter, wall thickness and your downstream process before the machine is configured, not after.
09 Can your machine replace the cutter on my existing extrusion line?
Yes, but a replacement takes more than matching the pipe diameter. We review your existing center height, installation space, haul-off connection, control signals, production speed and downstream equipment, so the new cutter integrates both mechanically and electrically.
10 What information is required to select the correct pipe cutting machine?
Send your pipe material, OD range, wall thickness, maximum line speed, required cut length and finished pipe end requirement. If the cutter replaces an existing machine, add the current cutter dimensions, center height, line layout and any production problems you are having now.
Still have a question about your line? Send the pipe you produce and the problem you are trying to solve. Maggie replies in person within 24 hours.
Send Your Pipe Specs To Maggie
Pipe material, OD range, wall thickness, line speed and cut length. Five lines is enough to get a real cutting configuration back, not a price list.

Maggie
Sales, QTech Machinery
Replies within 24 hoursYour message reaches me directly. If the cutter is not what is actually limiting your line, I will tell you that before you spend anything on a new machine.
What Comes Back To You
- Cutting method reviewed against your pipe and wall thickness
- Cutting cycle checked against your speed and cut length
- Tooling list split into shared and size specific parts
- Run tested and inspected before it is packed
Maggie
Sales, Zhangjiagang Qinxiang Machinery Co., Ltd.
Get Your Cutting Configuration
Four fields. Fields marked are required, and nothing else is asked of you.