Pipe Coilers Built Around Your Finished Coil And Line Speed
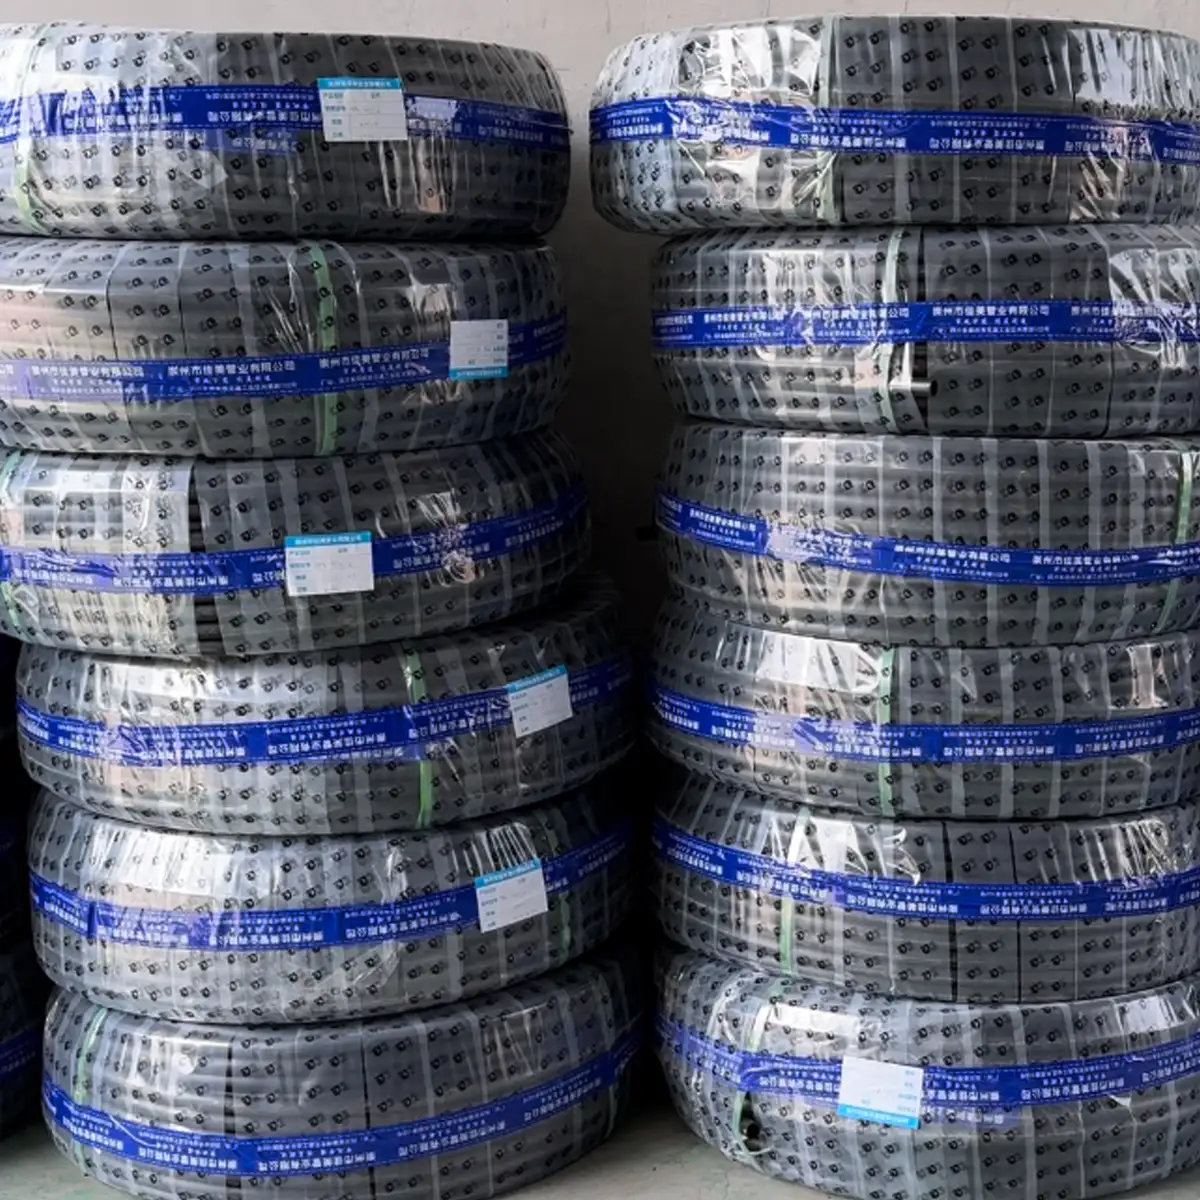
Automatic coiling and winding machines for PE, HDPE, PE-RT, PEX and other flexible plastic pipes. You send the pipe size, the coil you need to ship, and the speed your line runs. We configure the coiler around those numbers, from single station winding to automatic cutting, coil change, strapping and unloading.
Pipe OD And Wall Thickness
Sets the drum and guide
Coil Length
Sets the cut and counter
Coil ID, OD And Width
Sets the reel dimensions
Maximum Line Speed
Sets the drive and traverse
For new extrusion lines and automation upgrades on the line you already run.
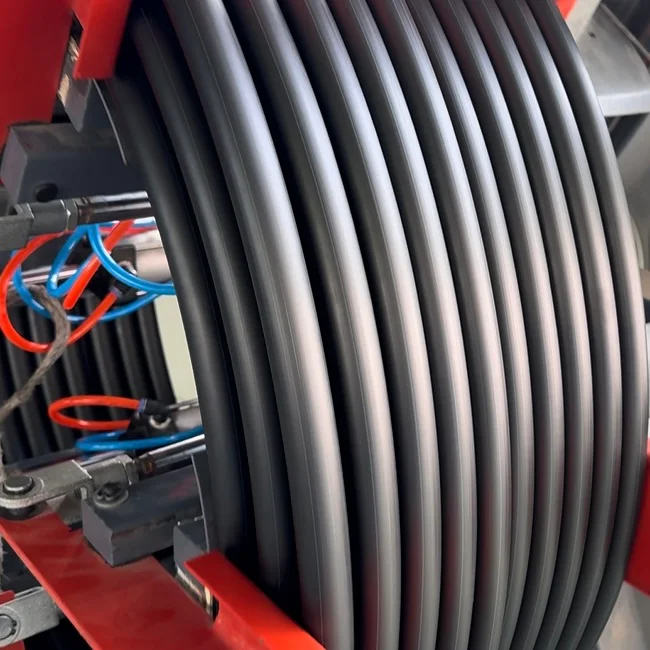
Find The Right Coiler Faster
Jump to whatever answers your question first, whether you are sizing a coiler to your pipe and line speed, adding automatic cut and strap to an existing line, or getting your coil specs in front of us for a quote.
Coil Requirements
Pipe size, coil length, coil dimensions
Coiling Configurations
Single station to fully automatic
Tension And Layer Control
Even layers, no pipe deformation
Pipe Protection
No scratches, kinks or ovality
Finished Coil Quality
Tight, flat and ready to ship
Speed And Coil Change
Keep pace with your line speed
Buffer And Line Integration
Accumulator and haul-off signals
Cutting And Packaging
Cut, strap, wrap and unload
Coil Changeover
Switch pipe and coil size fast
Coiling Problems
Common faults and the fix
Automation Upgrade
Add automation to the line you run
Factory Manufacturing
What we build in house
Inspection And Acceptance
Run tested before shipment
FAQ
Voltage, lead time, warranty
Define The Coil Before The Machine
The right coiler starts with the pipe you run and the coil you need to ship. Pipe dimensions set the winding tension and coil geometry. Coil size, line speed and packaging decide the station layout and how much of the cycle runs without an operator.
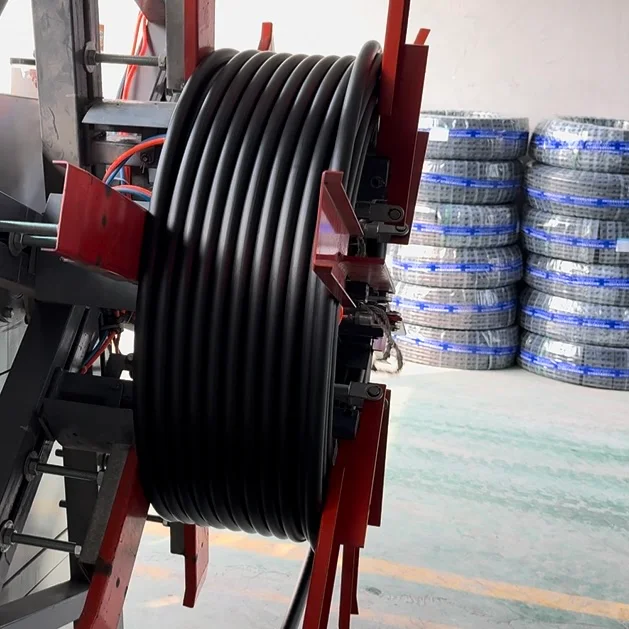
Coil ID, OD, width and weight are what your forklift, pallet and container are sized for. They come first, the machine is built around them.
01
Pipe Specification
- Pipe material
- Outside diameter range
- Wall thickness or SDR
02
Finished Coil
- Length per coil
- Required coil ID
- Maximum coil OD
- Coil width
- Maximum coil weight
03
Production Speed
- Maximum line speed
- Required coil length
- Expected coil change frequency
04
Packaging
- Number of straps per coil
- Film wrapping, if you need it
- Manual or automatic unloading
With these numbers, the coiler is configured for your winding range, tension control, traverse travel, station arrangement, cutting, strapping and unloading. Nothing is guessed.
Send Pipe Size, Line Speed And Target Coil Length First
If some coil dimensions are still open, start with those three. We evaluate a practical coil ID, OD and weight range for your pipe before the machine configuration is finalized, so nothing gets locked in that your pallets or containers cannot take.
Choose The Coiler Around Your Production
Coilers are configured for different line speeds, coil sizes and levels of end-of-line automation. The real difference is not the number of winding stations. It is how the machine handles coil change, cutting, strapping and unloading while your extrusion line keeps running.
| Configuration | Typical Production | Coil Change | Automation | Packaging Integration |
|---|---|---|---|---|
| Single Station Coiler | Lower speed lines or less frequent coiling | Manual or semi-automatic | Basic | Usually separate |
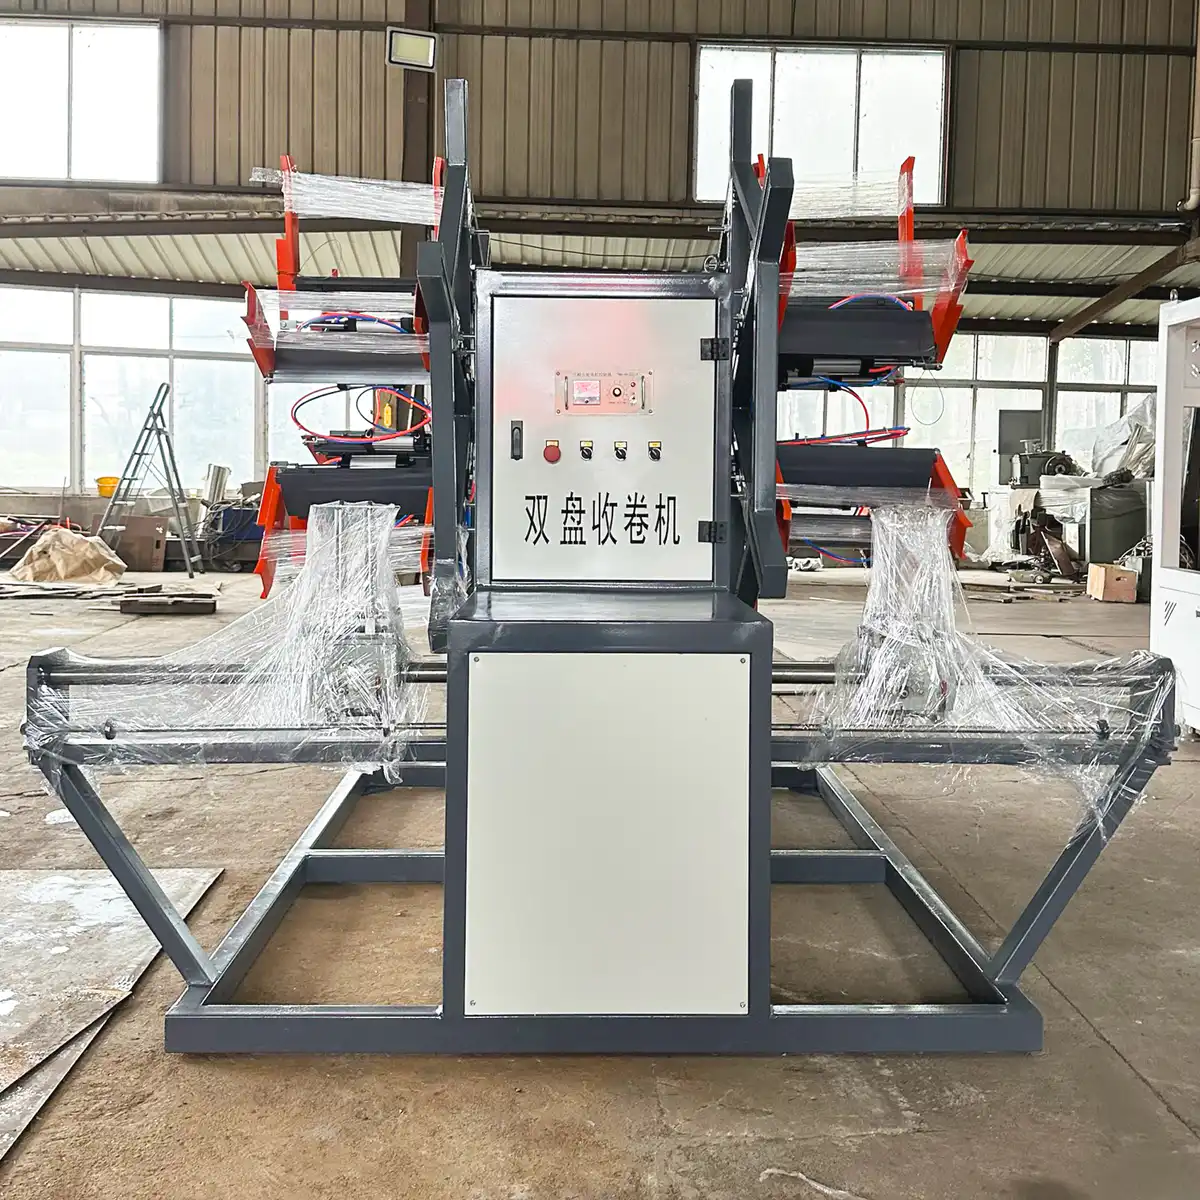
| Double Station Coiler | Continuous production with regular coil changes | Alternates between two stations | Medium To High | Optional |
| Automatic Coiling And Strapping | Lines where you want less manual handling | Automatic | High | Cutting, strapping and unloading can be integrated |
| High Speed Pipe Coiler | Small diameter pipe at higher line speeds | Automatic continuous changeover | High | Usually integrated with cutting and handling |
| Large Diameter Pipe Coiler | Larger or heavier flexible pipe coils | Depends on coil size and process | Customized | Designed around coil weight and handling |
Tell us how often you change coils and who does the strapping today. That usually decides between single and double station faster than any spec sheet.
Single Station Coiler
The practical choice when your line speed is moderate and coil changes are not frequent. The machine stays simpler because continuous automatic changeover is not needed.
Double Station Coiler
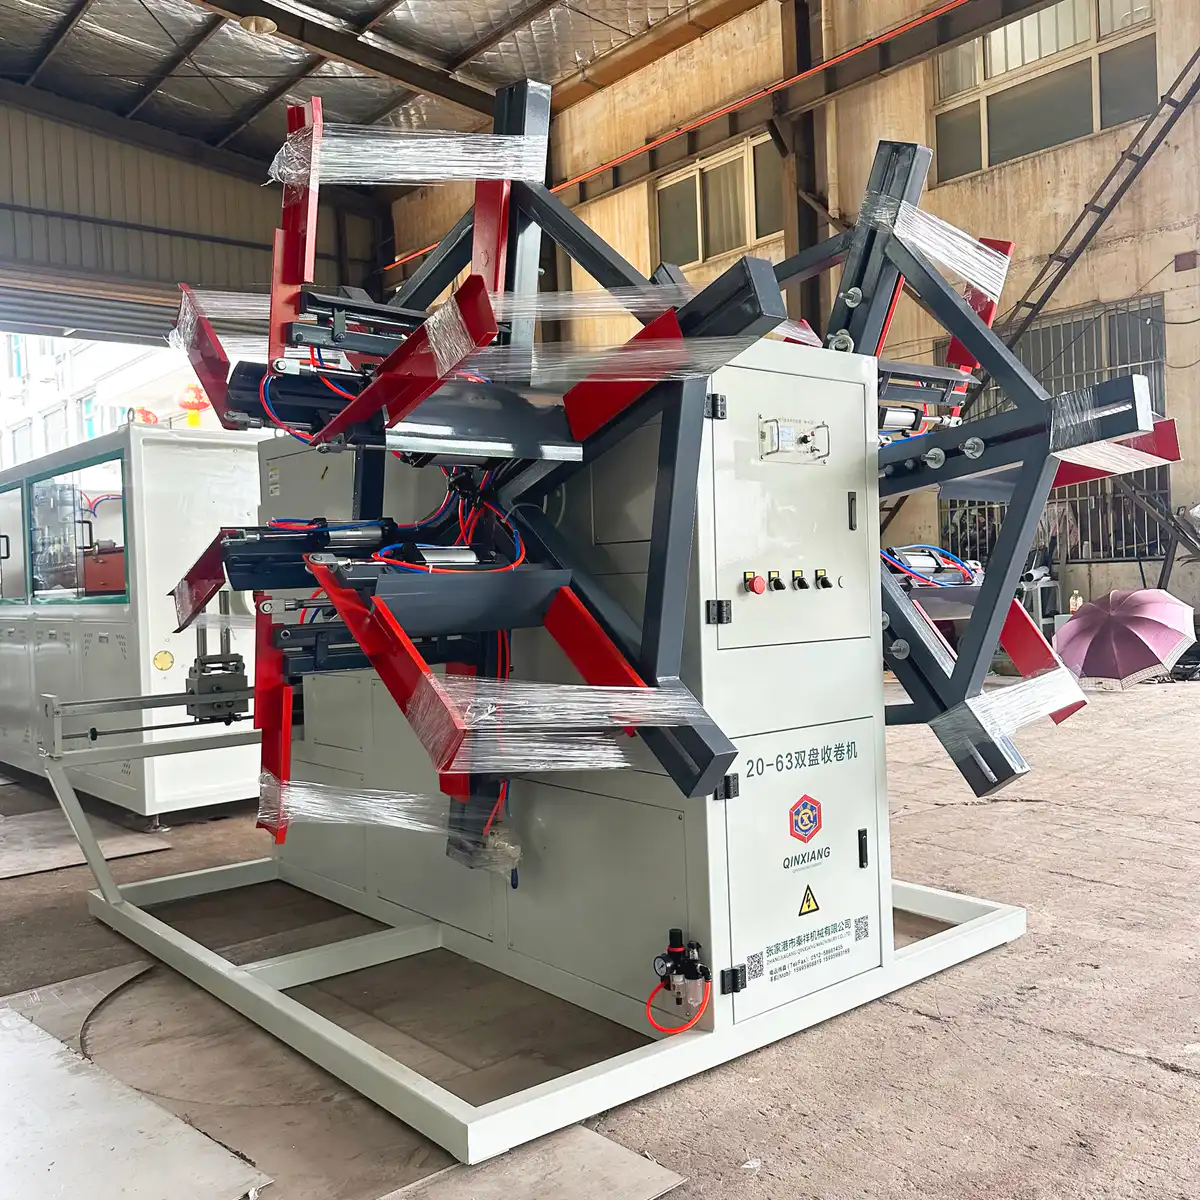
One station keeps receiving pipe while the finished coil on the other is strapped and removed. Pick this when stopping or slowing the extruder at every coil change is not acceptable.
Automatic Coiling And Strapping
For lines where coiling is only one step at the end. Length counting, cutting, coil change, strapping and unloading run as one automatic sequence, so nobody stands at the coiler.
High Speed Pipe Coiler
Small diameter pipe means short coil cycles. Winding speed, tension, traverse movement and station change have to track the extrusion line closely or the coil loses shape.
Large Diameter Pipe Coiler
Bigger pipe and heavier coils put more load on winding torque, coil ID and OD, finished weight and the unloading method. It is sized from your actual pipe and coil, never scaled up from a small pipe coiler.
Send Your Pipe And Coil Specs
We match the configuration to your line speed, coil change frequency and how much handling you want to remove. Drawings and quote within 24 hours.
Keep Tension Stable As The Coil Grows
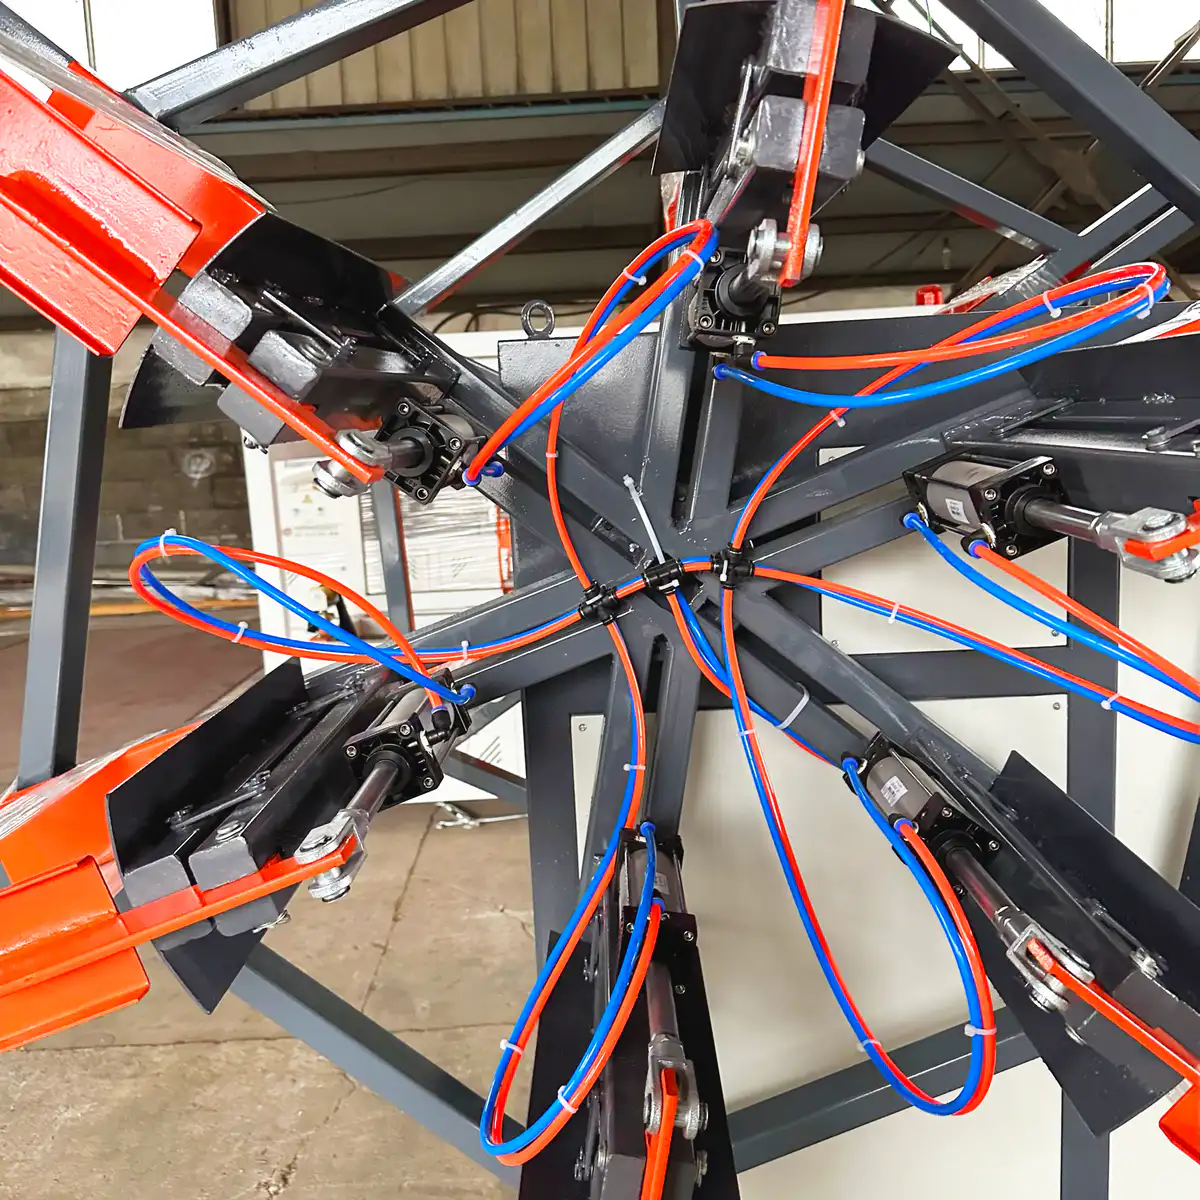
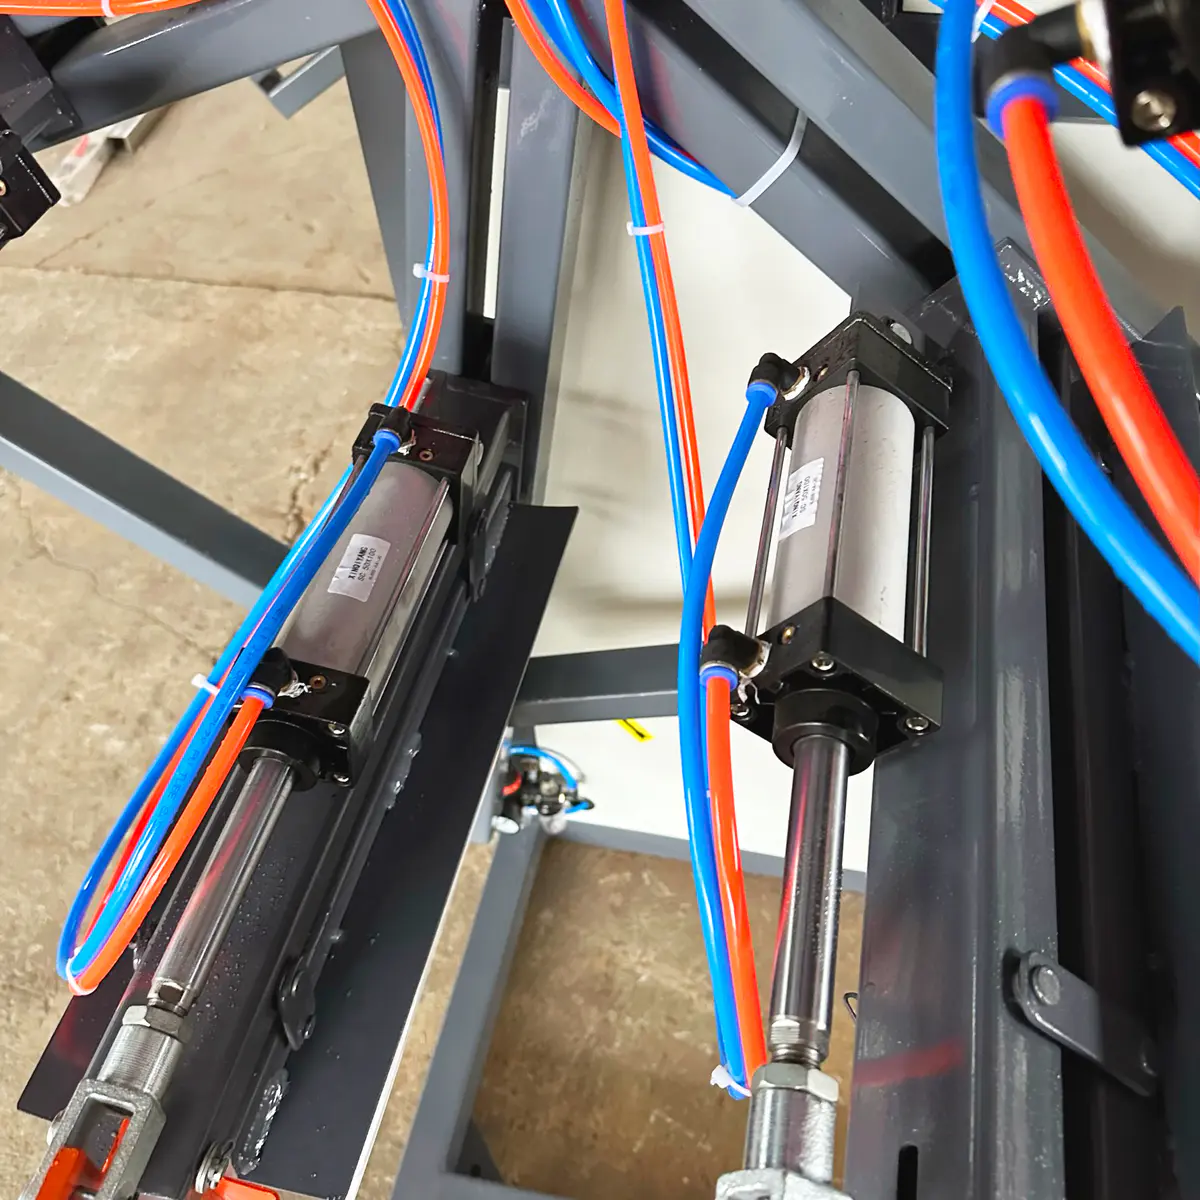
Nothing about winding stays constant. Every turn adds to the coil diameter, so the same drum speed pulls faster and faster on the pipe. The coiler has to keep adjusting winding speed and tension as the coil builds, while the traverse keeps laying each turn where it belongs across the coil width.
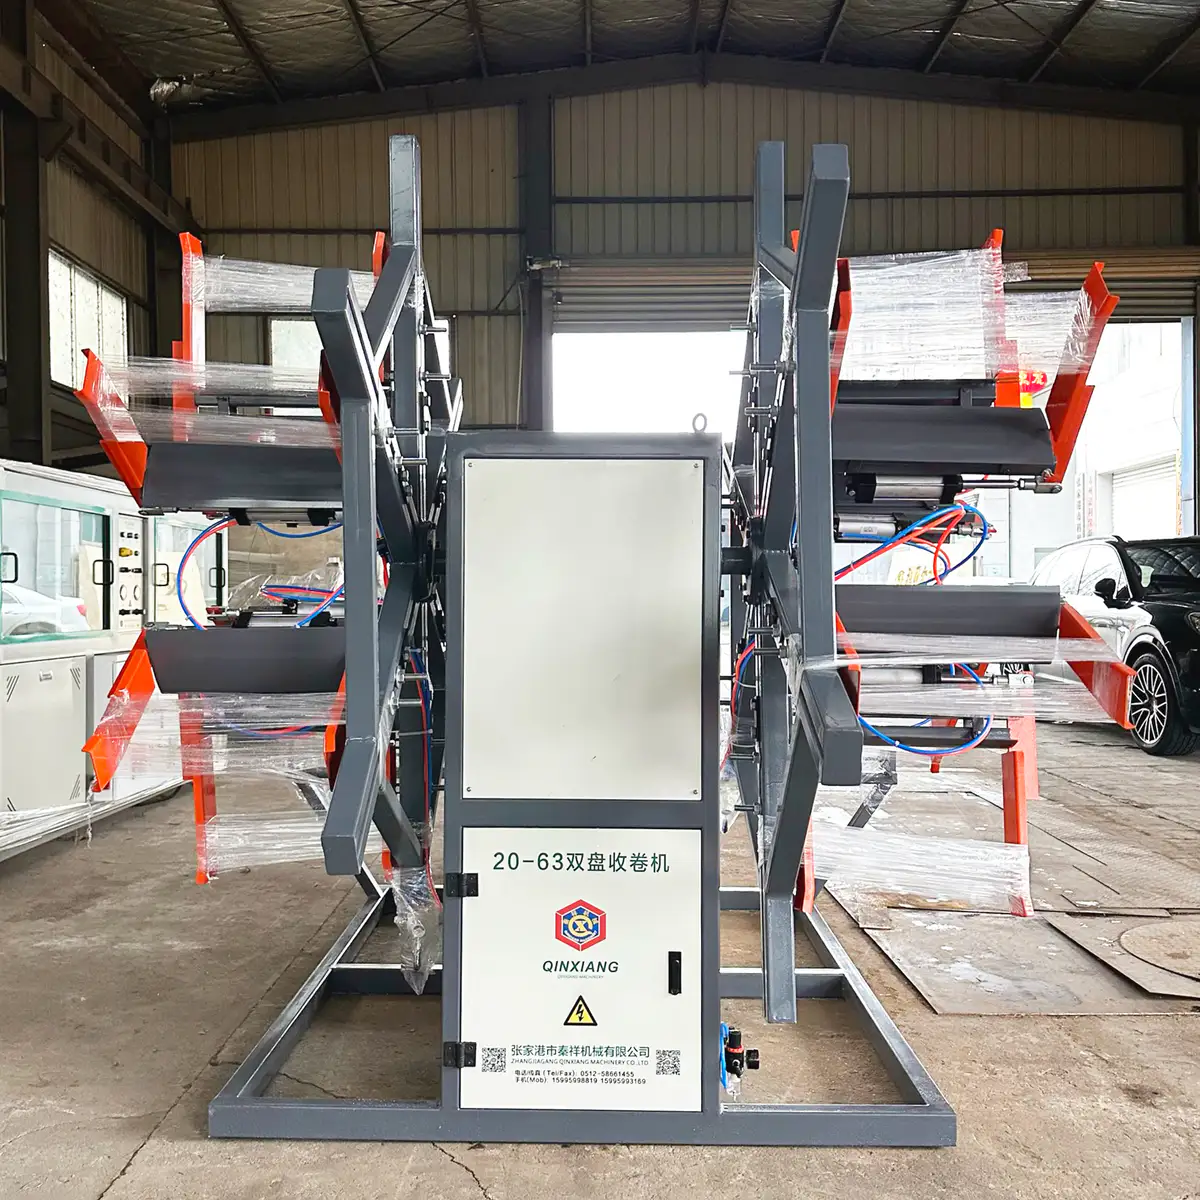
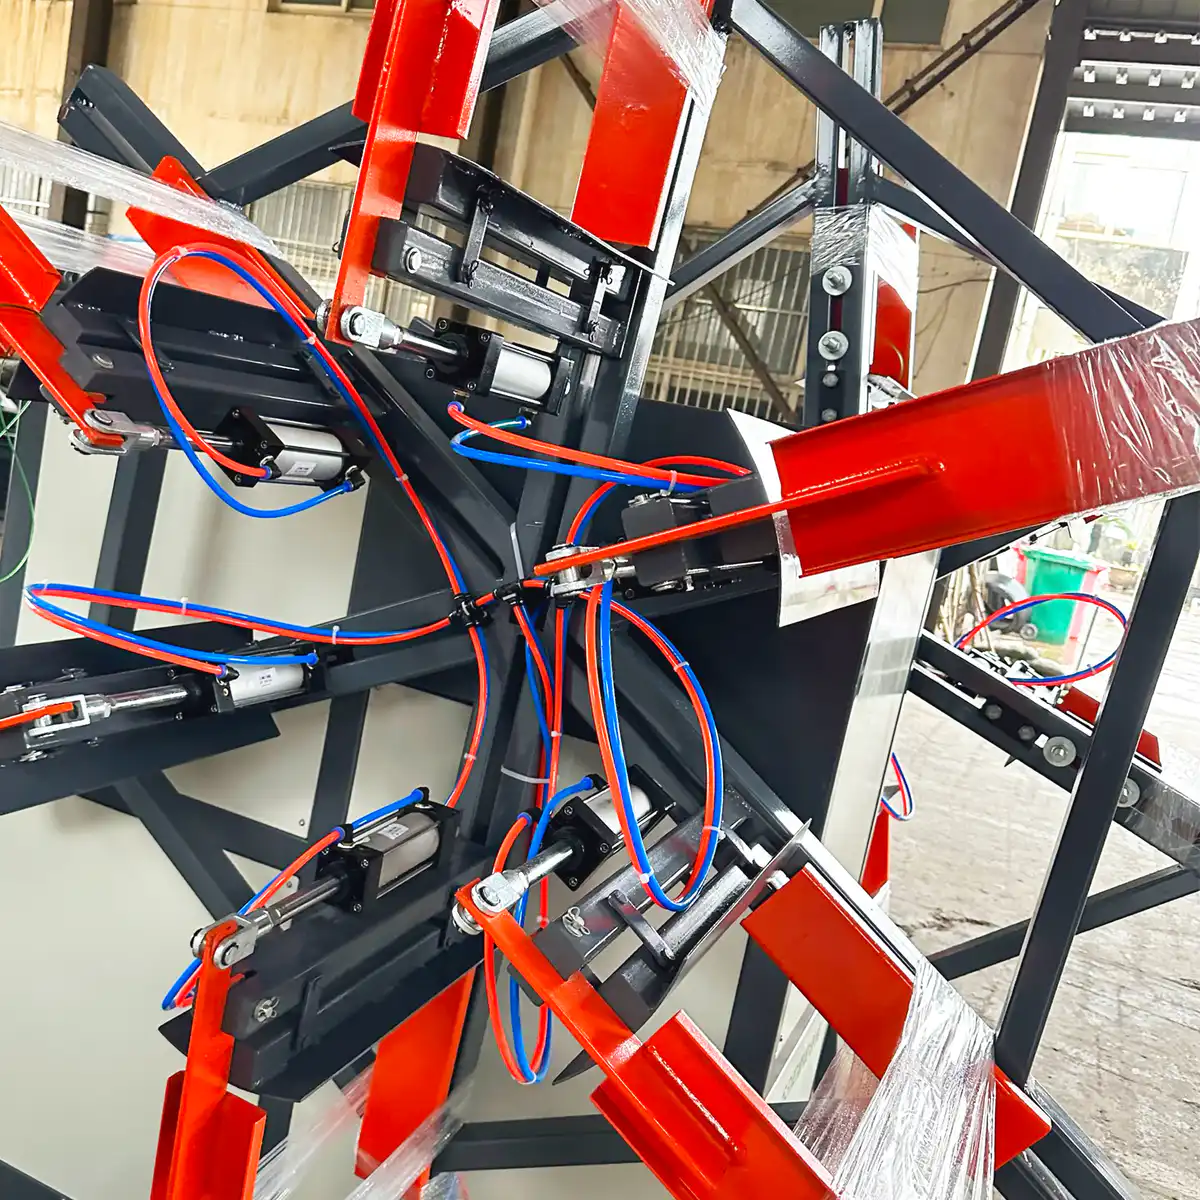
The Coil Comes Off Loose
- Loose outer layers that spring open once the coil is off the drum
- Uneven winding with turns wandering across the width
- Poor coil shape that does not stack or strap cleanly
- Coil shifts after unloading, on the pallet or in the container
The Pipe Pays For It
- Pipe deformation before it is even packed
- Higher ovality risk on thin wall PE and PE-RT
- Kinking on tighter coil IDs
- Stress locked into flexible pipe that shows up on site
What The Control System Follows
The control system keeps responding to line speed and coil diameter through the whole winding cycle. One fixed winding setting works for the first few layers and then quietly stops working, which is how a coiler that looked fine at start-up ends up shipping bad coils by the afternoon.
Protect The Pipe During Coiling
A smaller coil saves pallet space and freight. It does not save anything if the pipe inside it is kinked, oval or stressed past what it can take. The coil diameter and winding setup are chosen from your pipe structure, material flexibility and how the pipe arrives at the coiler, not from the smallest package you would like to ship.
Five things that decide how tightly your pipe can safely be wound.
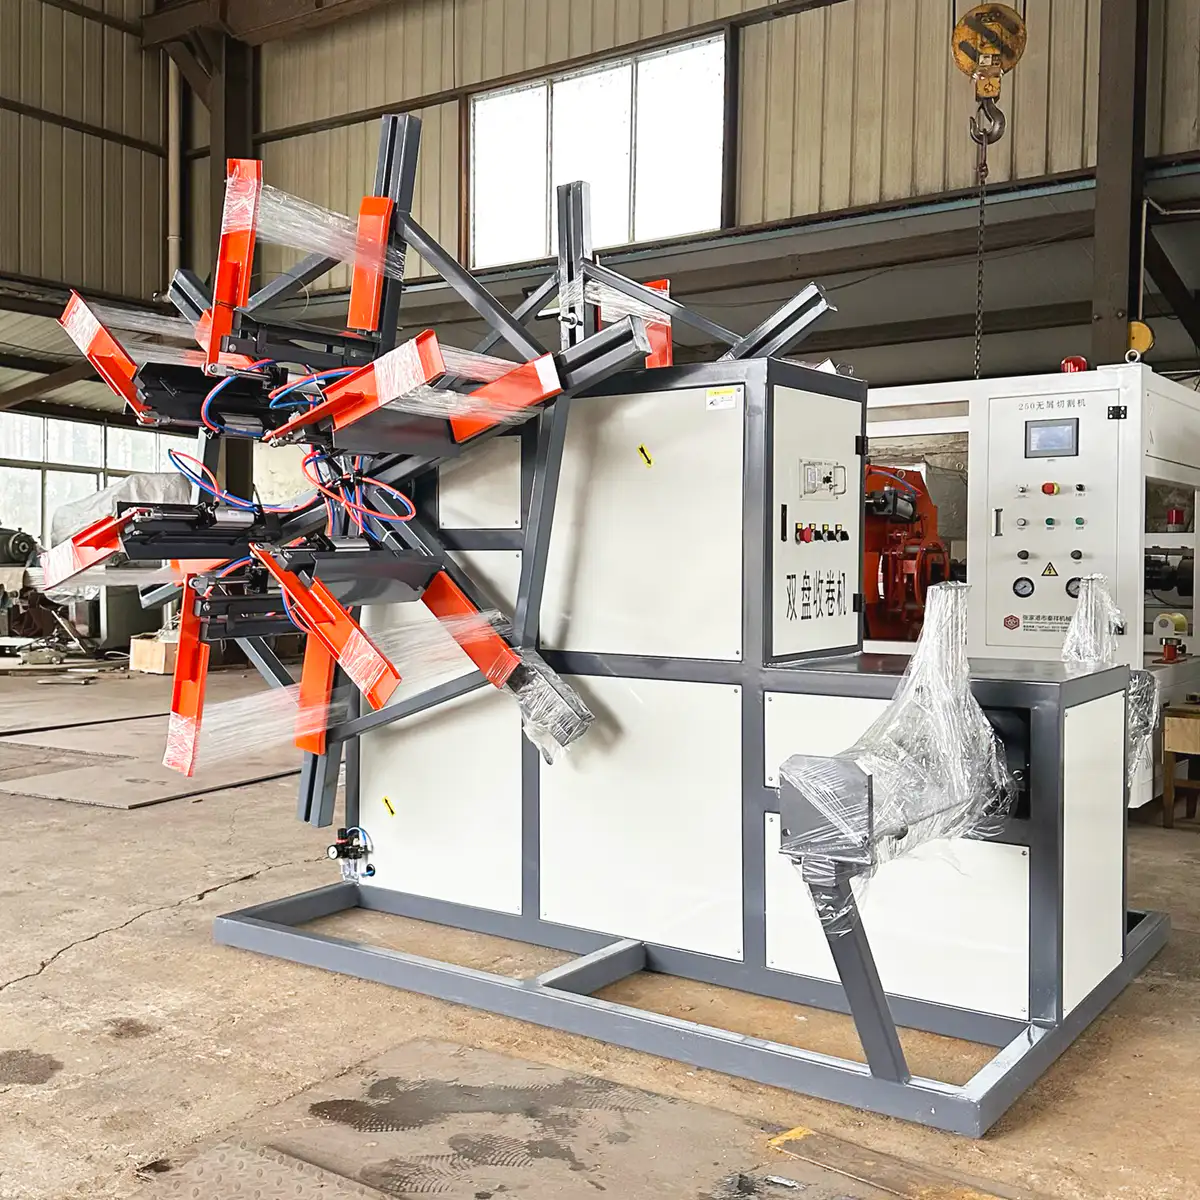
Coil Inner Diameter
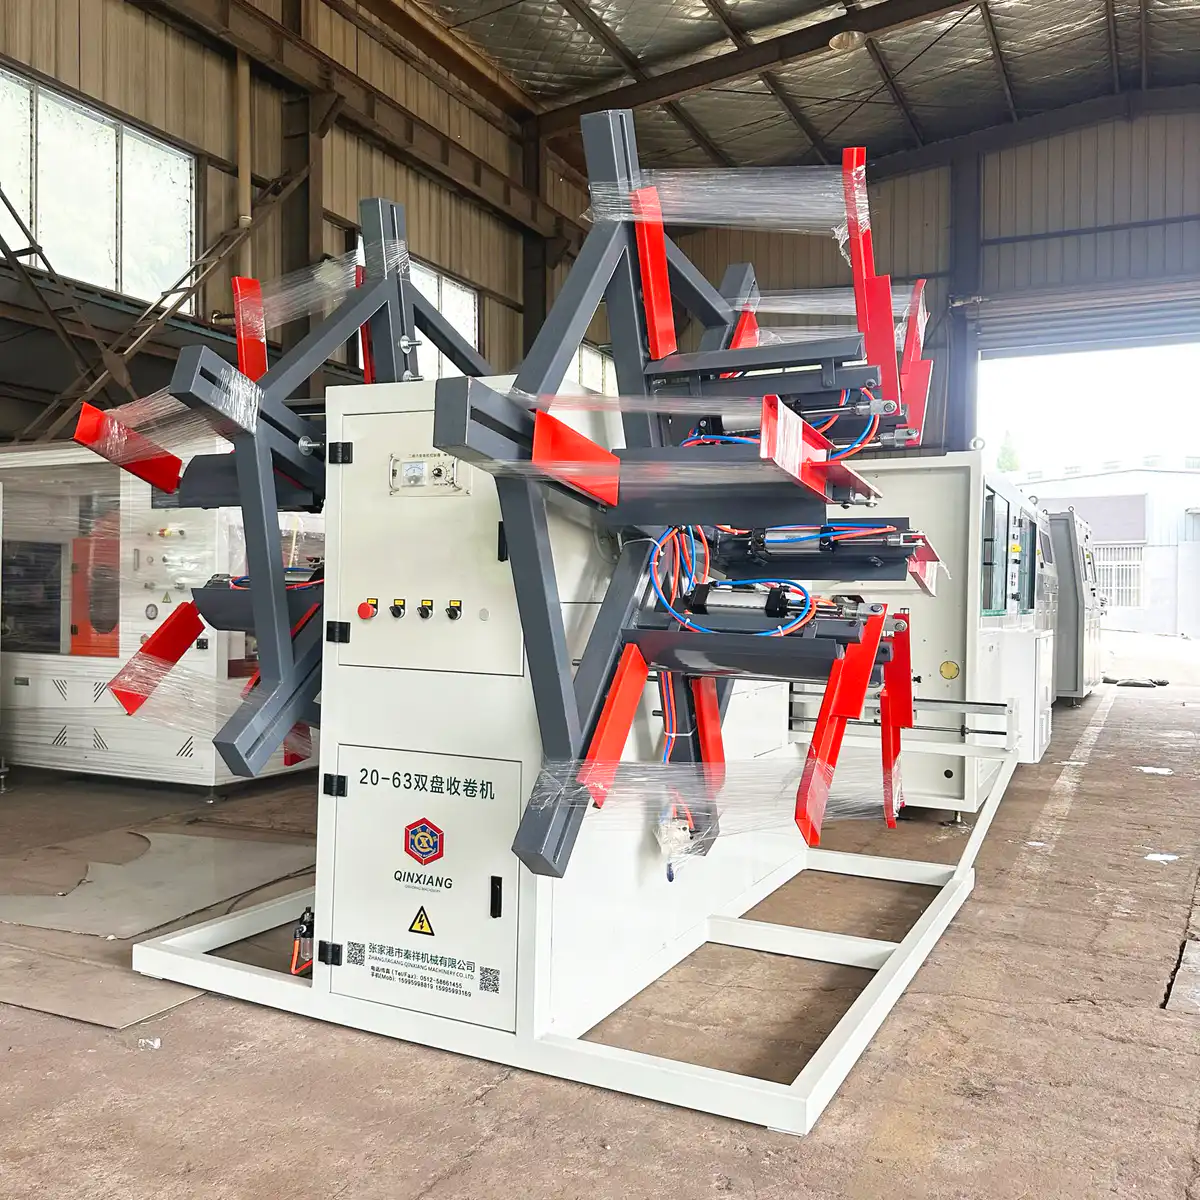
The coil ID has to give the pipe enough bending radius. Push it too small and bending stress climbs fast, which is where deformation and kinking start, especially on larger or stiffer pipe. The ID you can ship is set by the pipe, then checked against your pallet.
Tell us: The coil ID you need, and whether it is fixed by your customer
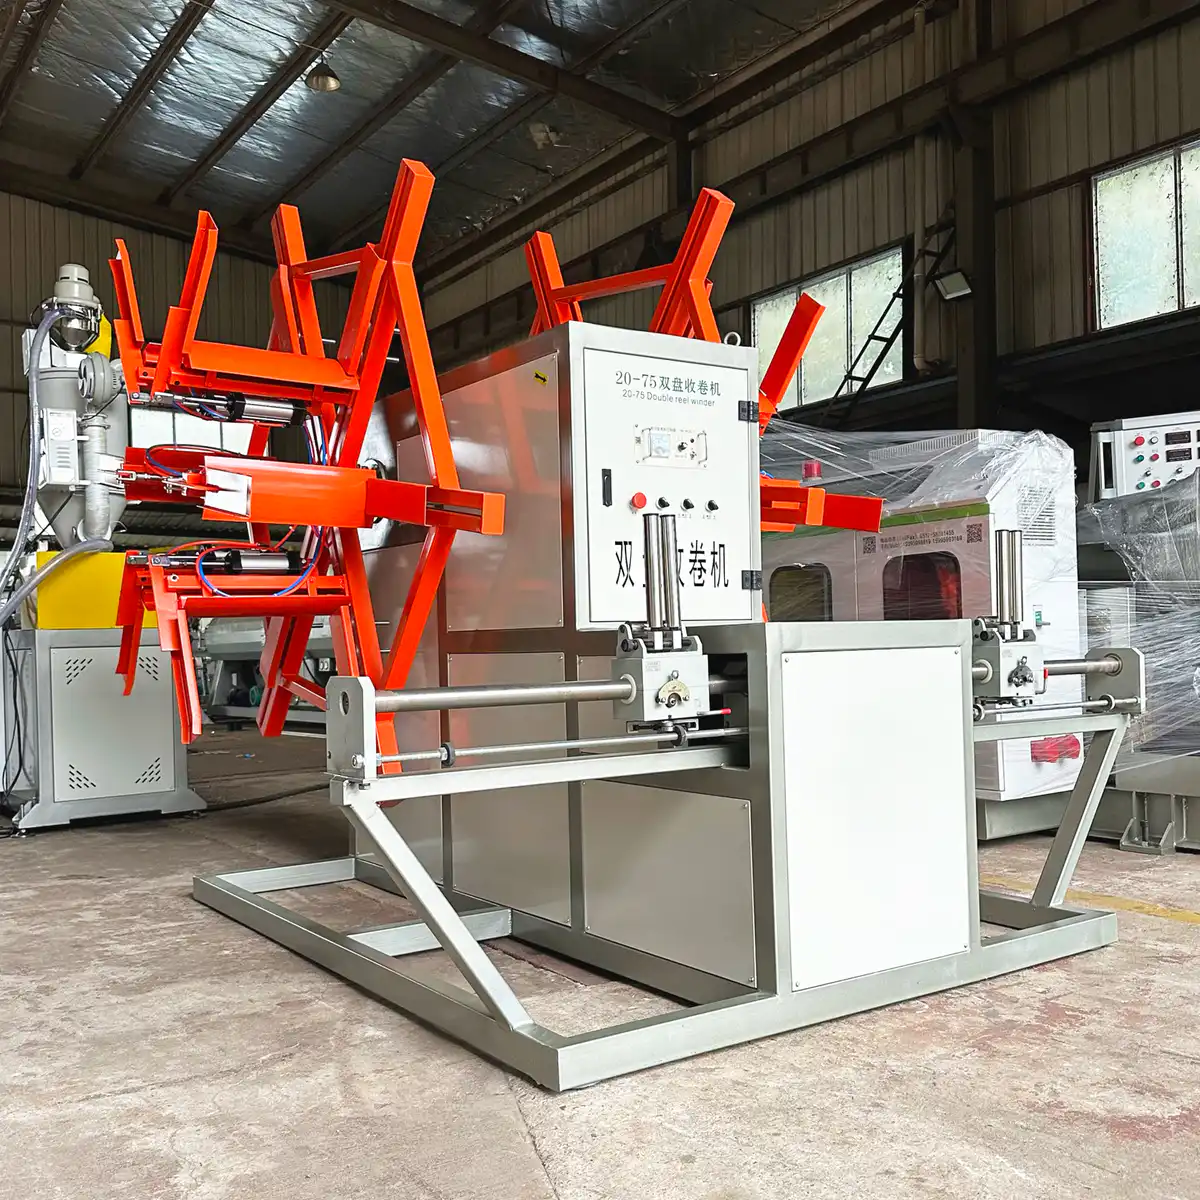
Pipe OD And Wall Thickness
Diameter and wall together decide how tightly a pipe will bend without damage. Two pipes with the same OD but a different SDR need different coil geometry. Quoting from OD alone is how a coiler gets sized for the wrong pipe.
Tell us: Every OD and SDR you run, not just the most common one
Material Flexibility
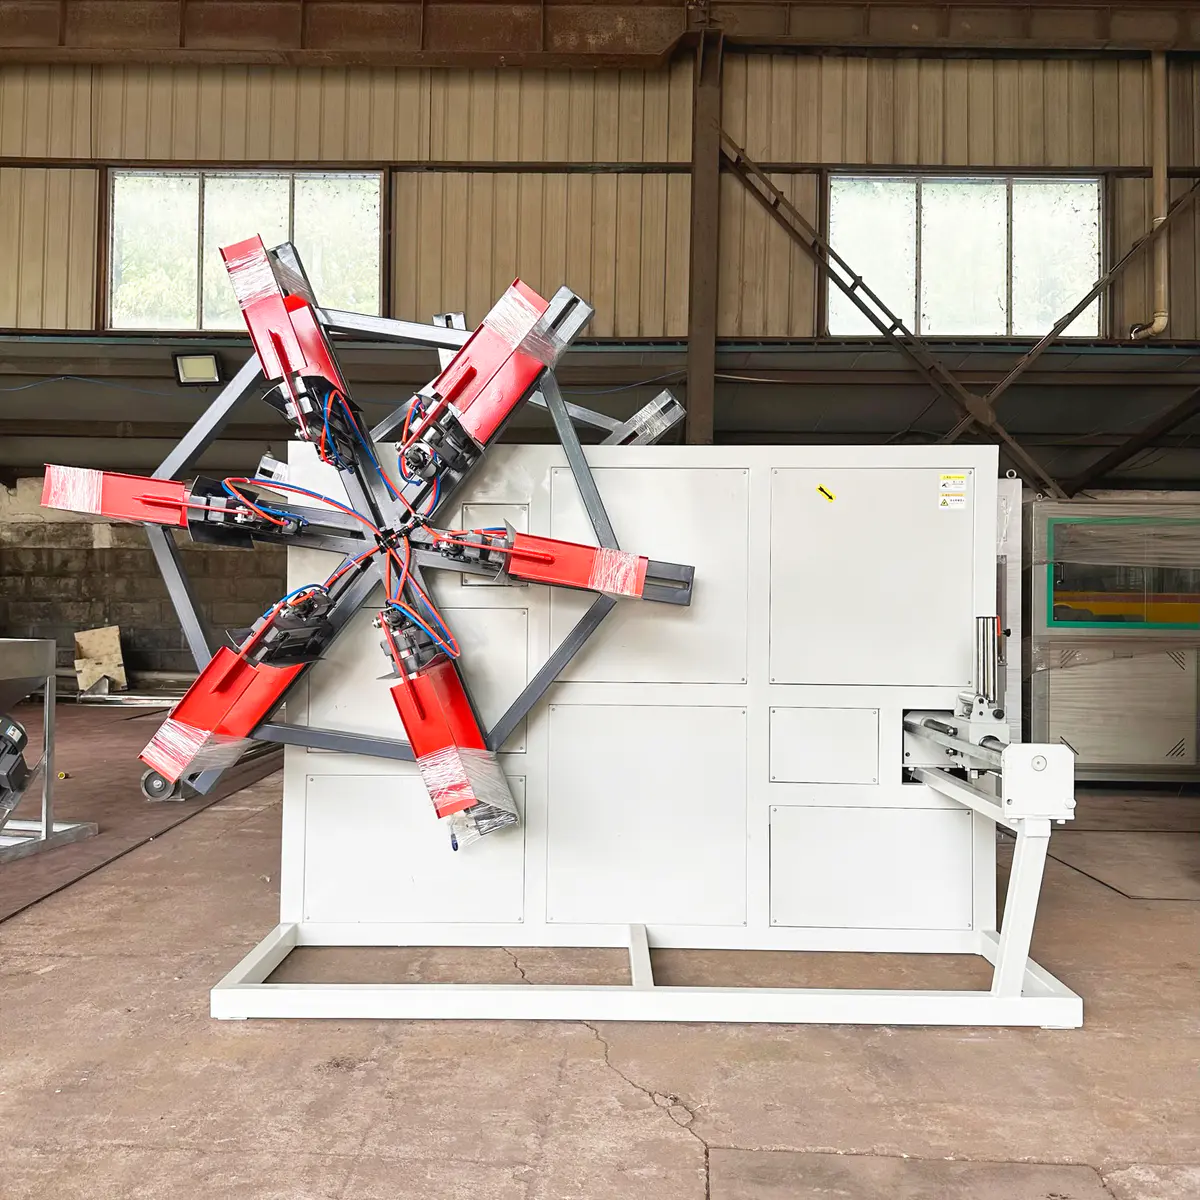
HDPE, PE-RT, PEX and other flexible pipes do not wind the same way. Stiffness and pipe construction change how much bend the pipe accepts and how much tension it wants. Coil diameter and tension get set per material, not once for the machine.
Tell us: The materials you run now and any you plan to add
Pipe Temperature
Pipe that reaches the coiler still warm deforms far more easily under bending and winding pressure. Before winding speed and coil geometry are fixed, the cooling capacity upstream gets checked against your line speed. A faster line often needs more tank, not a different coiler.
Tell us: Your cooling tank length and the pipe temperature at the coiler, if you measure it
Winding Tension
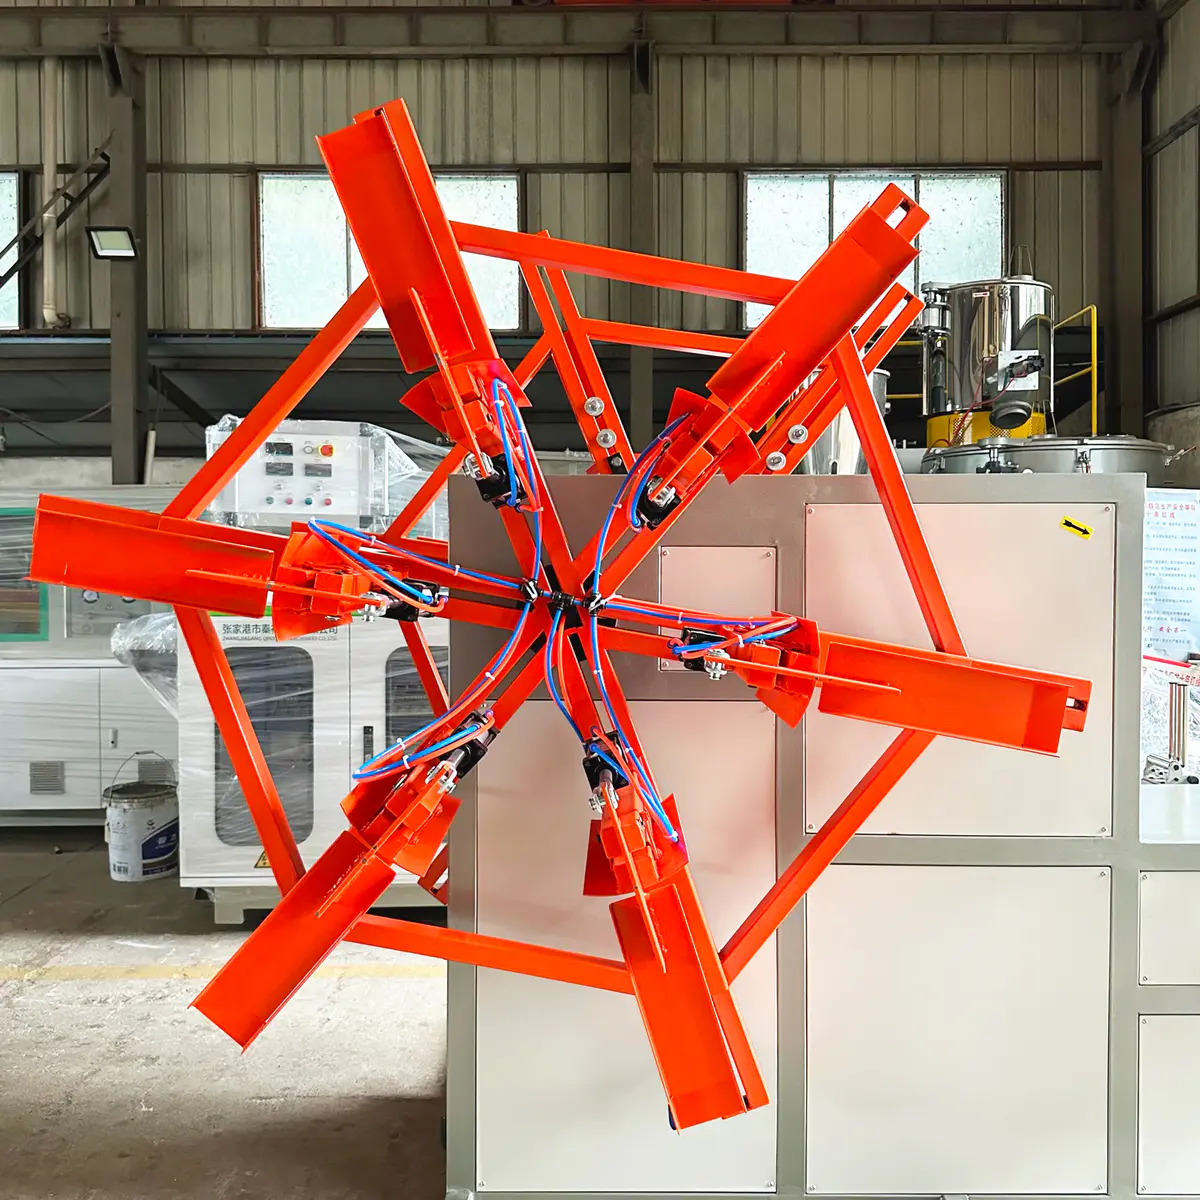
More tension does not mean a better coil. The pipe needs enough pull to hold its shape on the drum and no more. Past that point you are pressing the pipe against the winding diameter and building stress into it that shows up as ovality on site.
Tell us: Whether you have seen ovality or loose coils on your current setup
Send the pipe range and the coil ID your customer expects. We tell you whether that combination winds safely, and where the limit sits if it does not.
Check The Pipe, Not Just The Coil
Before you sign off a coil size, cut the straps on a few sample coils and look at the pipe itself. Six things to check on every trial run.
- Excessive ovality
- Surface marks from the drum or traverse
- Kinking on the inner layers
- Excessive coil set when unwound
- Flattening where turns cross
- Coil shape after unloading and a day on the pallet
The smallest coil you can make is not always the best coil you can ship.
Set the coil ID together with the pipe OD, wall thickness, material and line condition. Picking it from shipping space alone is how you end up with a tidy pallet and a customer rejecting pipe.
Judge The Coiler By The Finished Coil
A machine running empty tells you very little. A coil that stays consistent from the first layer to the last turn tells you everything. When you inspect a trial coil or an acceptance run, these six measurements are what separate a coiler that is set up right from one that only looks right on video.
Coil Inner Diameter
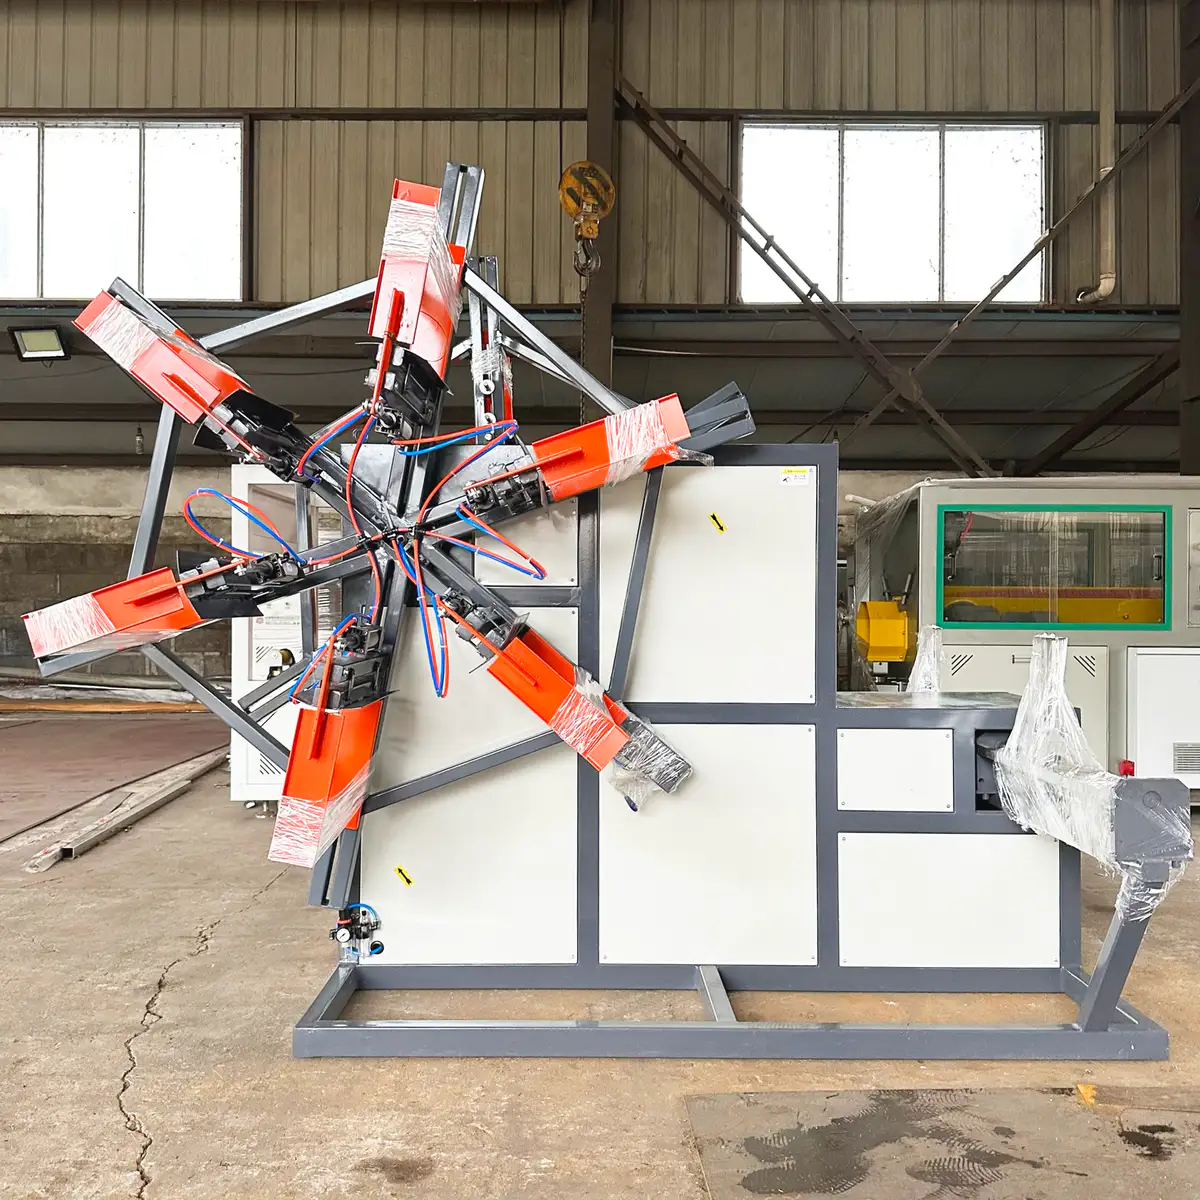
The ID should land inside the agreed range and form evenly around the winding center. An inner layer that is loose or off center gets copied by every layer wound on top of it, so a bad ID is never just an ID problem.
Coil Outer Diameter
Coils made to the same length and spec should come out the same size. If the OD wanders from coil to coil, something upstream is wandering too, usually tension, layer arrangement or how the pipe enters the drum.
Coil Width
The pipe should stay inside the required width without spreading or piling up on one side. Width is what your strapping head, your forklift clamp and your pallet plan were sized for, so it has to repeat.
Layer Arrangement
Every turn should be guided into place next to the last one. Crossing, overlapping or uneven gaps make the coil unstable and hard to handle, and they are the first thing your customer sees when the wrap comes off.
Edge Alignment
Both faces of the coil should stay reasonably flat from start to finish. A coil that drifts to one side as it grows points to the traverse setting, the guide position or the reel alignment, and it is worth finding which one before you run a full shift.
Coil Tightness
Tight enough to hold its shape, no tighter. Loose outer layers shift in transit. Too much winding force presses the pipe against the layer below and raises the deformation risk. Check a coil after unloading, then again after a day on the pallet.
These six checks are written into our factory acceptance run. Send your coil spec and we send you the trial coil measurements before shipment, not after.
Check The Coil After It Leaves The Station
A coil held on the winding station is still being held. The real test starts once it is unloaded, strapped and sitting on the floor. Then look at whether it:
- Keeps its overall shape
- Holds a consistent width
- Stays properly layered
- Holds the ID and OD you agreed
- Stays secure after strapping
- Shows no pipe deformation you would not accept from a supplier
What you see on the coil, and where to look on the machine.
Crossed Layers
The traverse is not keeping step with pipe feed and winding speed. Check the pitch setting against your pipe OD first.
Uneven Coil Width
Pipe distribution, guide position or traverse range. One of the three is letting the pipe pile up on a side.
Loose Outer Layers
Winding tension is too low, or the drum speed is not following the line as the coil grows. The last layers are wound slack.
Telescoping Coil
Layers slide sideways as the coil builds, and the finished coil no longer matches the shape it had on the drum.
Collapse After Unloading
Winding condition, coil geometry and strapping method have to be reviewed together. Fixing one on its own rarely holds.
Check coils across several consecutive production cycles, not one picked sample. One good coil proves the settings can work. Ten in a row proves the machine holds them.
Can Coil Change Keep Up With Your Line?
Line speed on its own does not tell you whether a coiler can keep up. The length of each coil decides how often the machine has to cut, transfer, change station and hand the finished coil downstream. Short coils on a fast line mean far more changeovers than long coils at the same speed.
Two numbers set the pace. Everything else on the machine has to fit inside them.
Coil change is the only moment the coiler can fall behind the extruder. Everything in this section is about making that moment short enough.
Line Speed
The coiler has to follow the actual extrusion speed through normal running, ramp up and ramp down. Not the nominal speed on the datasheet, the speed your line is doing at that moment. Fall behind and tension spikes. Run ahead and the coil goes loose.
Length Per Coil
Coil length sets how often a changeover happens. Shorter coils, more changeovers, less time for each one.
Coil Cycle Time = Coil Length ÷ Line Speed
100 m
coil length
20 m/min
line speed
5 min
between changeovers
Every five minutes the machine has to cut, transfer, switch station, strap and unload. Change the coil to 50 m and it has two and a half. That window is what the winding system is designed around.
Station A Coiling
Pipe winds under controlled tension as the coil builds toward target length.
Target Length Reached
The length counter triggers the change sequence while the line keeps feeding.
Cut And Transfer
The pipe is cut and the new end is guided to the second winding position.
Station B Starts Coiling
The second station takes the pipe with controlled tension and minimum disturbance upstream.
Station A Straps And Unloads
The finished coil is secured and removed, and station A is ready before it is needed again.
Cutting Time
The pipe is cut at the set length without an uncontrolled transition that jerks the line or leaves a ragged end.
Transfer Time
The new pipe end has to reach the next winding position reliably, every cycle, not most cycles.
Station Change
The second station must be empty and ready before the first coil enters its handling sequence.
Strapping And Unloading
The finished coil needs enough time to be strapped and removed before that station is called again.
Send your line speed and the coil lengths you produce. We work out the cycle time and tell you which changeover sequence fits inside it.
When Do You Need A Double Station Coiler?
A single station machine is fine when your line speed is moderate and there is time to handle each coil by hand or semi-automatically. A double station or fully automatic configuration starts to matter when:
- Line speed is higher
- Production should continue during unloading
- Coil length is shorter
- Automatic cutting and strapping are required
- Coil changes are frequent
If the changeover cannot be completed without interrupting pipe flow, the coiler alone is not the answer. A buffer or accumulator between the extrusion line and the coiler may be needed as well, which is what the next section covers.
Keep The Extrusion Line Running During Coil Change
Your extruder does not know the coiler is busy. Pipe keeps coming out of the line while the coiler is cutting, transferring or switching stations. If nothing is there to take that pipe, the line upstream has to slow down or stop, and every stop costs you scrap on restart.
A buffer or accumulator sits between the haul-off and the coiler. It stores pipe for the seconds the coiler cannot accept it, then feeds that pipe back once the next winding station is ready. The extruder never sees the changeover.
When A Buffer May Be Needed
Worth evaluating on your line when:
- Line speed is high
- Coil lengths are short
- Coil changes are frequent
- Changeover takes longer than the production window you have
- Cutting or transfer briefly interrupts winding
- You want the extruder to keep running through every coil change
Buffer capacity is sized from your line speed and the changeover time, not picked from a catalogue. A few seconds of storage is enough on some lines. Others need a full accumulator loop.
The coiler is the last machine on the line, which means it inherits every signal, speed and pipe path decision made before it.
When A Buffer May Not Be Necessary
A double station coiler with a fast enough transfer cycle can often handle the changeover on its own, especially at moderate line speeds or with longer coils. In that case an accumulator is floor space and money spent on a problem you do not have.
We decide from your actual production cycle. A buffer is never added as a standard option, and it is never left out to keep the quote short.
Match The Coiler With The Line Ahead Of It
For stable integration the coiler is reviewed together with your haul-off, length measurement and line control, not quoted in isolation. Four points that get checked:
Line Speed Signal
The coiler needs a reliable speed reference from upstream to follow every change in production, including ramp up and ramp down.
Start And Stop Coordination
Operating signals between line and coiler stop pipe piling up on the floor on one side, and stop tension spiking on the other.
Pipe Path
Guide rollers, buffer layout and machine position have to let the pipe travel without sharp bends, dragging or resistance it does not need.
Available Floor Space
Accumulator size and pipe routing must fit the floor you actually have, without creating a corner nobody can operate or maintain.
Adding A Coiler To A Line You Already Run
Send these eight things and the coiler, buffer and control interface get planned as one system, not bolted on as a separate machine.
- Pipe material and size range
- Maximum production speed
- Current haul-off details
- How you cut or wind today
- Required coil lengths
- Available floor space
- Existing control signals
- Current line layout or drawing
From Finished Length To A Secured Coil
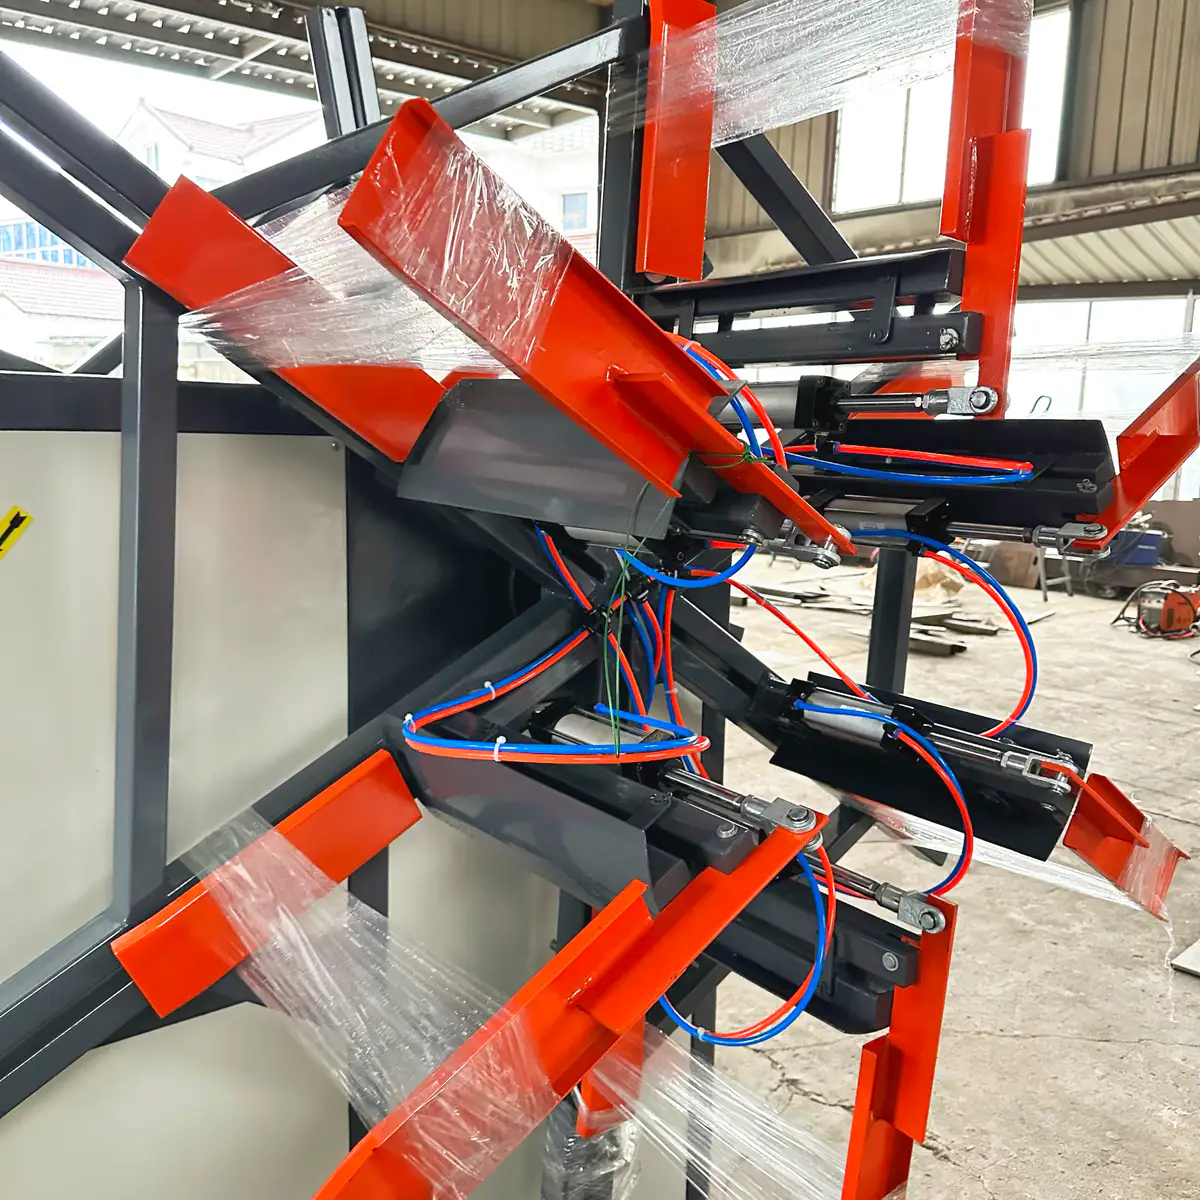
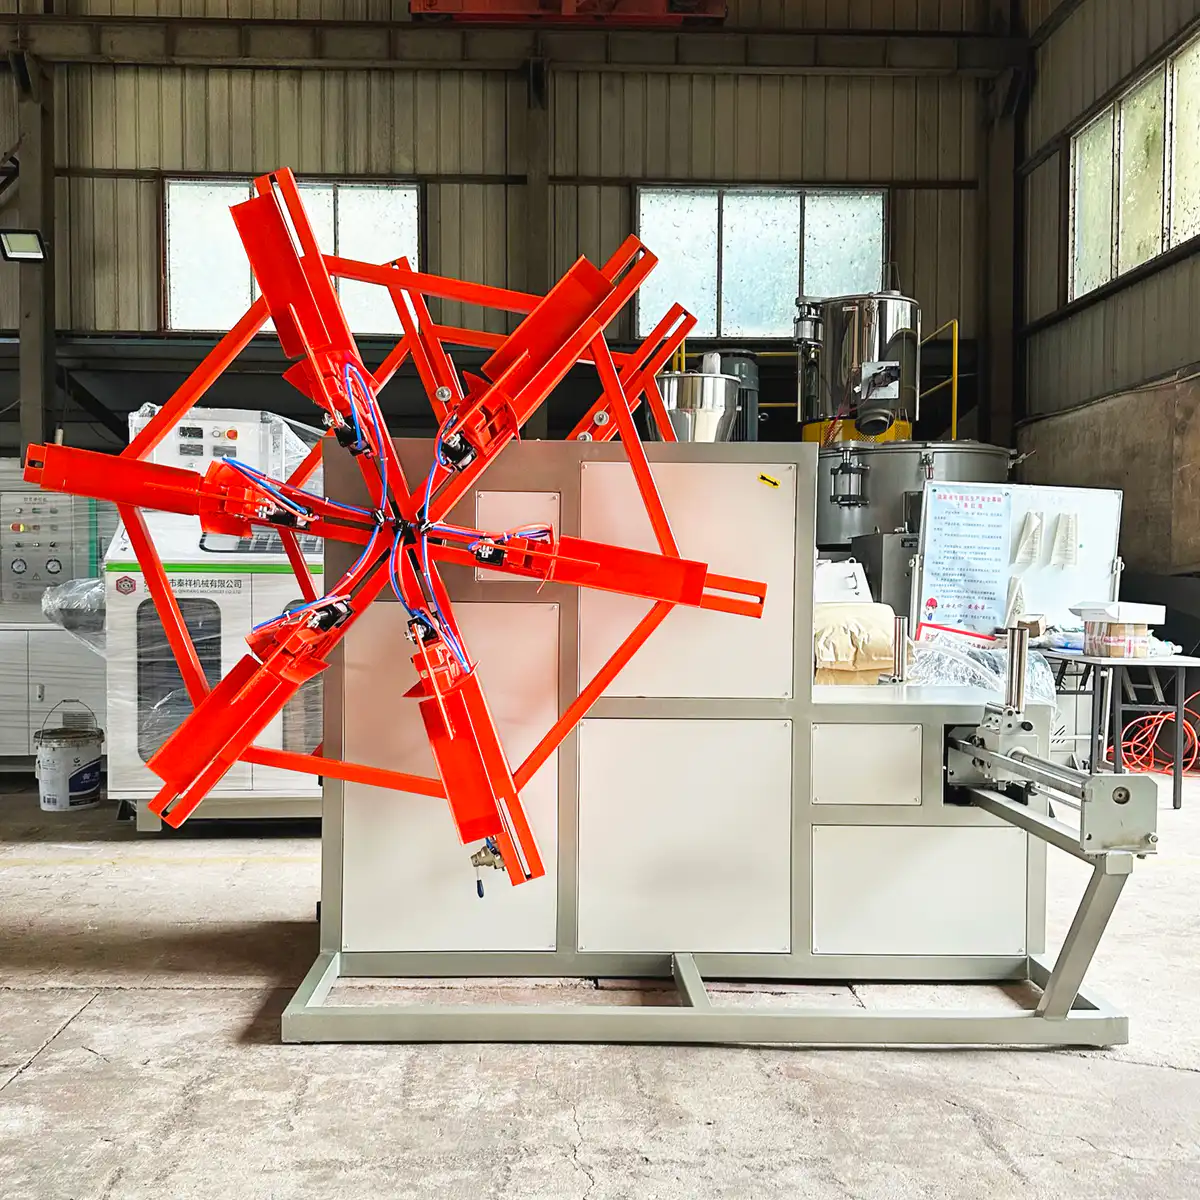
Hitting the target length is only the start of the end-of-line process. The coil still has to be cut, secured and taken off the station without losing its shape and without holding up the next winding cycle. Four steps, each configured around your coil.
Change Coil Formats Without Rebuilding The Setup
One line often runs several pipe sizes and several coil formats. Moving from one to the next touches more than the length setting. Winding geometry, traverse, tension and strap position can all move with it. Five settings that change when the product does, and what each one is set from.
Which of these adjustments are manual, motorized or stored as a recipe is decided from how often you change format. Send us your product list and we tell you where automation pays for itself.
Length Per Coil
Set from: target length, line speed
Going from 100 m to 200 m per coil mainly changes the length setting and the coil cycle. The counter has to hit the new target accurately, and cutting and changeover have to follow a cycle that is now twice as long, or half as long if you go the other way.
Coil ID And Width
Set from: customer coil spec, pallet size
A different inner diameter or width means the winding station itself has to move, by hand or by motor depending on how you specify it. These two numbers also set how much winding space is left, which decides the coil OD you end up with.
Traverse Setting
Set from: pipe OD, coil width
When the pipe diameter or the coil width changes, the traverse pitch and its end positions change with it. Leave the old setting in and the layers cross or the coil builds up on one edge. It is the most common thing to forget on a changeover.
Winding Tension
Set from: pipe OD, wall, material, coil diameter
The tension that gives you a tight coil on 32 mm SDR 11 will flatten 20 mm SDR 17. Tension is reset for every pipe size and material, and it should be stored with the product recipe so the operator is not guessing from memory at two in the morning.
Strapping Position
Set from: coil width, coil OD, coil weight
A wider or larger coil needs its straps in different places, and sometimes more of them, to stay secure once it is off the station. If the strap position is fixed for one format, the next format ships with straps in the wrong place.
Send the full list of pipe sizes and coil formats this line will run. We map which settings change between them and quote the adjustment method that fits your changeover frequency.
Nine Things To Confirm For Each Product
Write these down per pipe size and coil format once. Then a changeover is a lookup, not a rediscovery.
- Pipe OD and wall thickness
- Length per coil
- Coil ID
- Maximum coil OD
- Coil width
- Traverse setting
- Winding tension
- Strap position
- Unloading requirement
How The Changeover Gets Done Depends On How Often You Do It
Manual Adjustment
Right for you when product changes are rare and you run a limited number of coil formats. Simpler machine, lower cost, a few more minutes per changeover.
Motorized Adjustment
Worth it when coil dimensions change regularly and you need a setup that is fast and lands in the same place every time, whoever is on shift.
Recipe Management
Coil length, traverse parameters, tension and strap positions stored per product and recalled from the panel, where the control configuration allows it.
If this line runs many SKUs, decide the changeover method when you select the coiler. Deciding after it is installed means paying twice.
Find The Cause Before Touching The Coiler
A bad coil rarely comes from one setting. Tension, traverse, coil geometry, pipe temperature and upstream speed all leave their mark on the finished coil. Start from the defect you can see and it narrows down to one or two adjustments, instead of changing five things at once and never learning which one worked.
Pick the symptom. The panel shows what to check first.
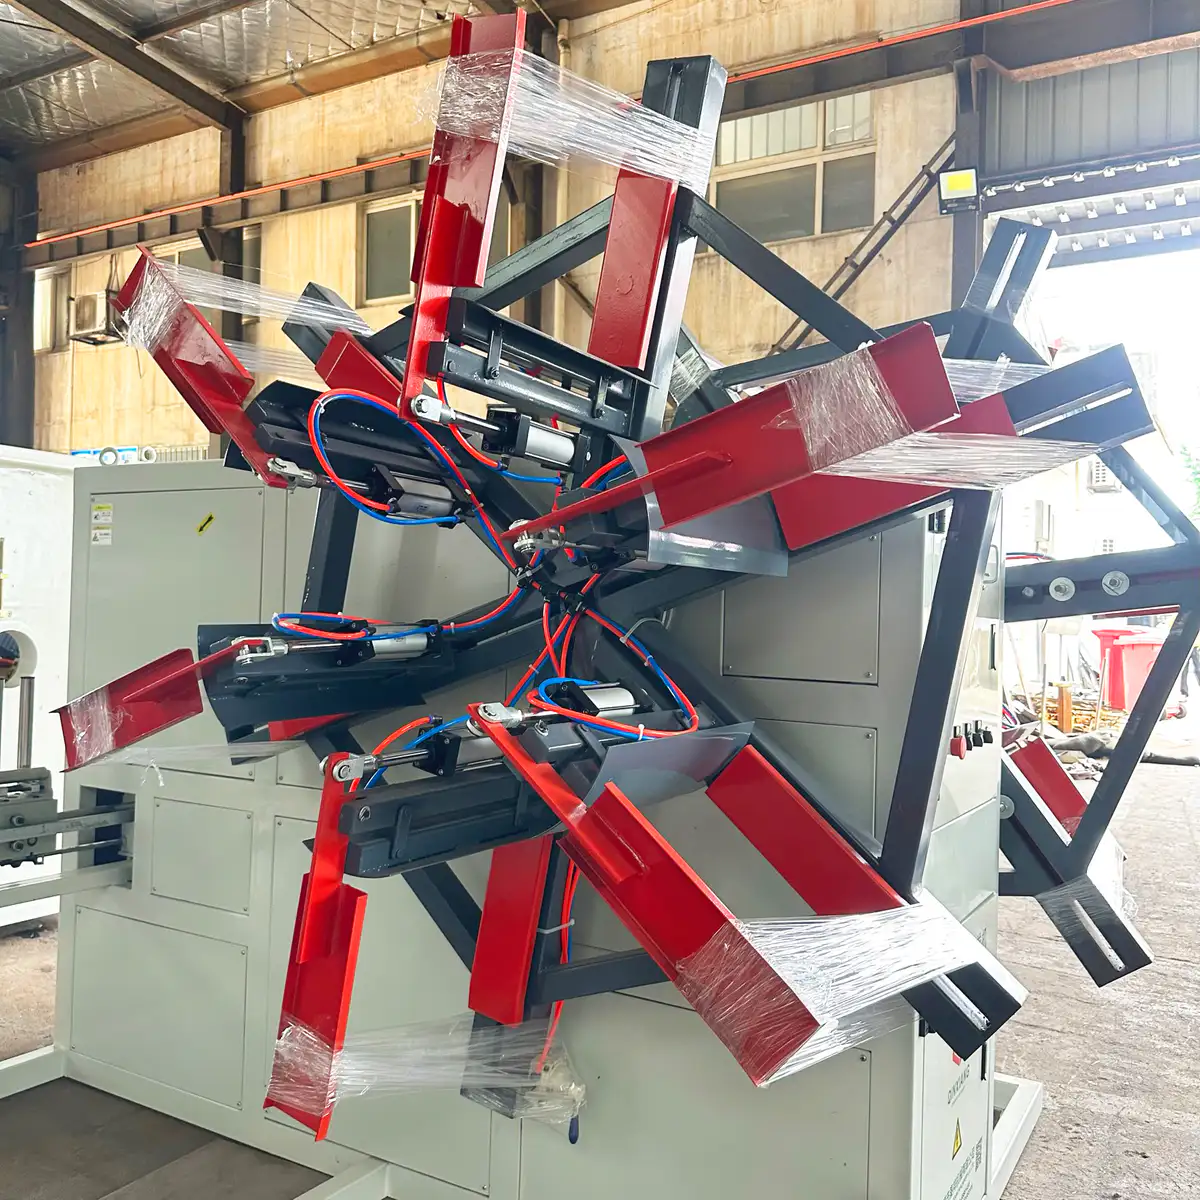
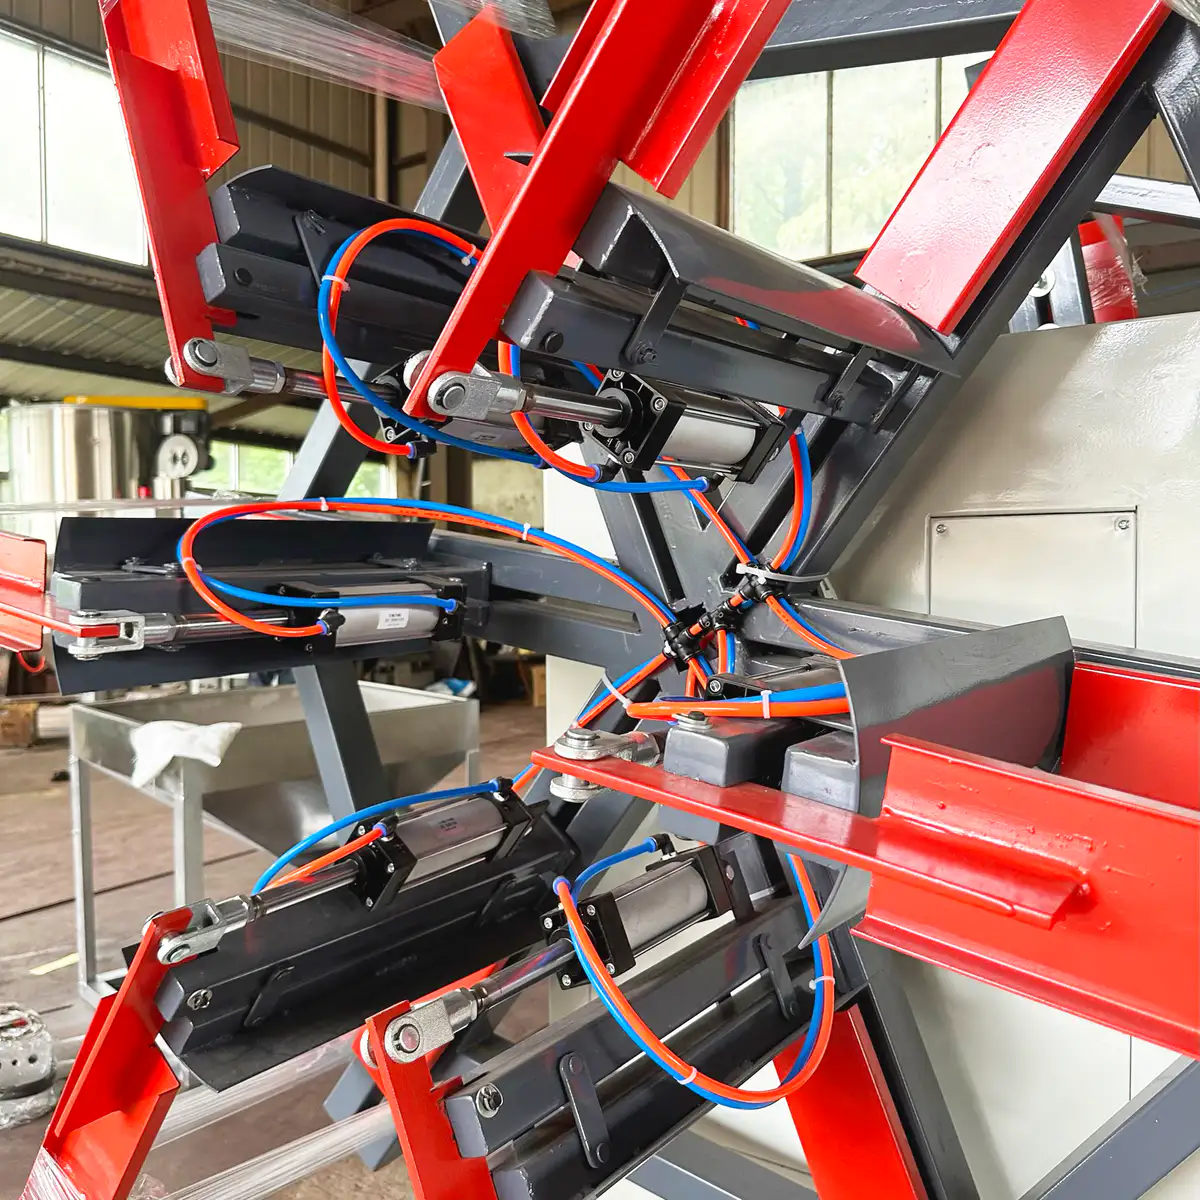
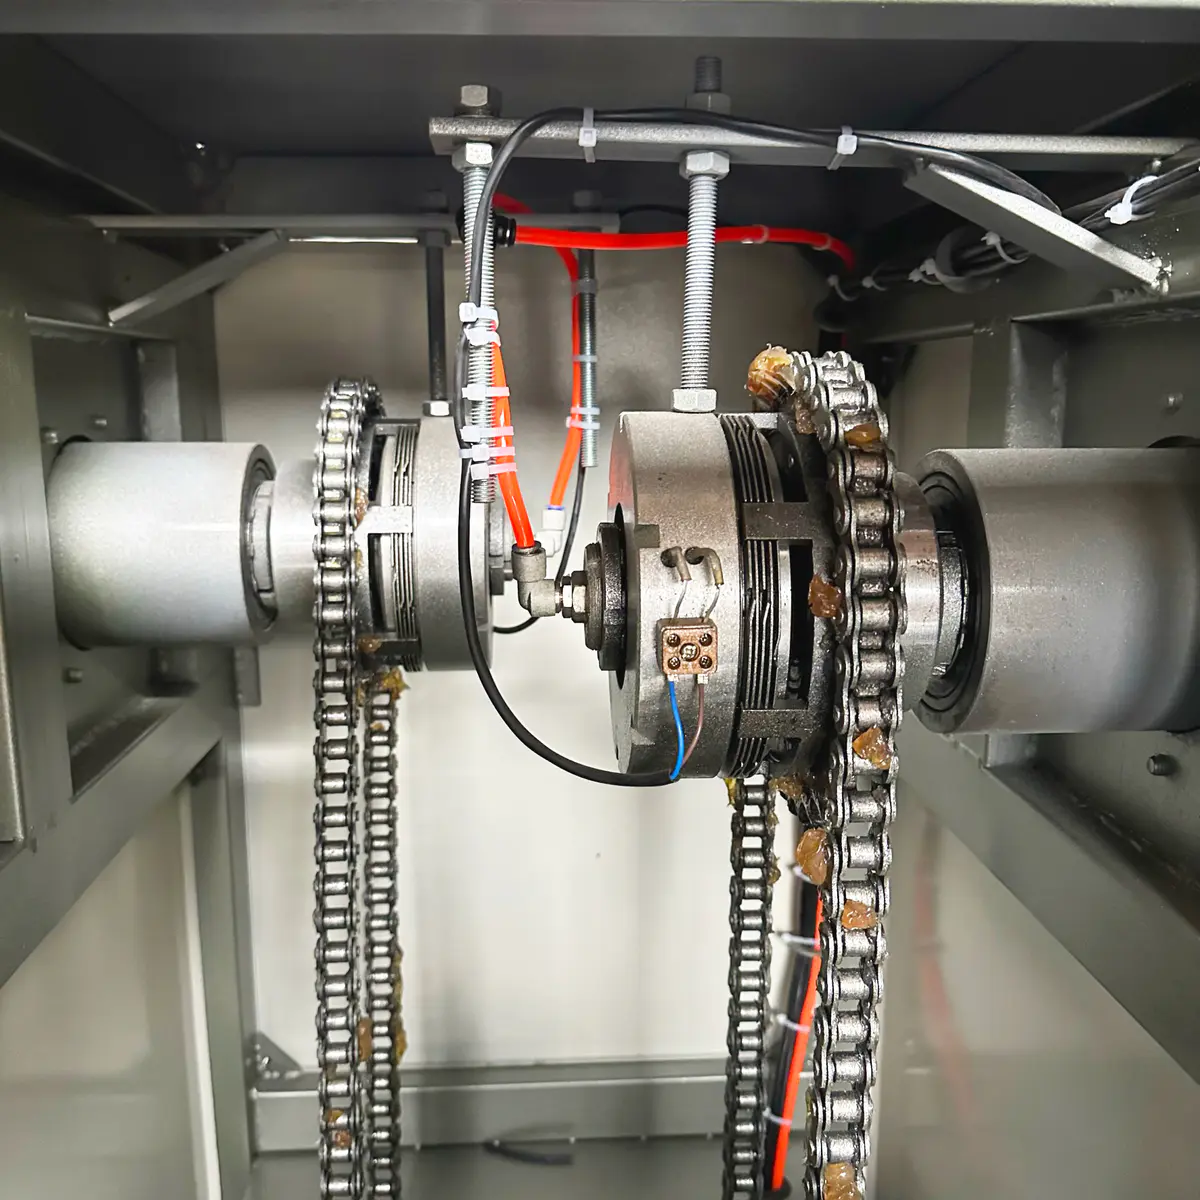
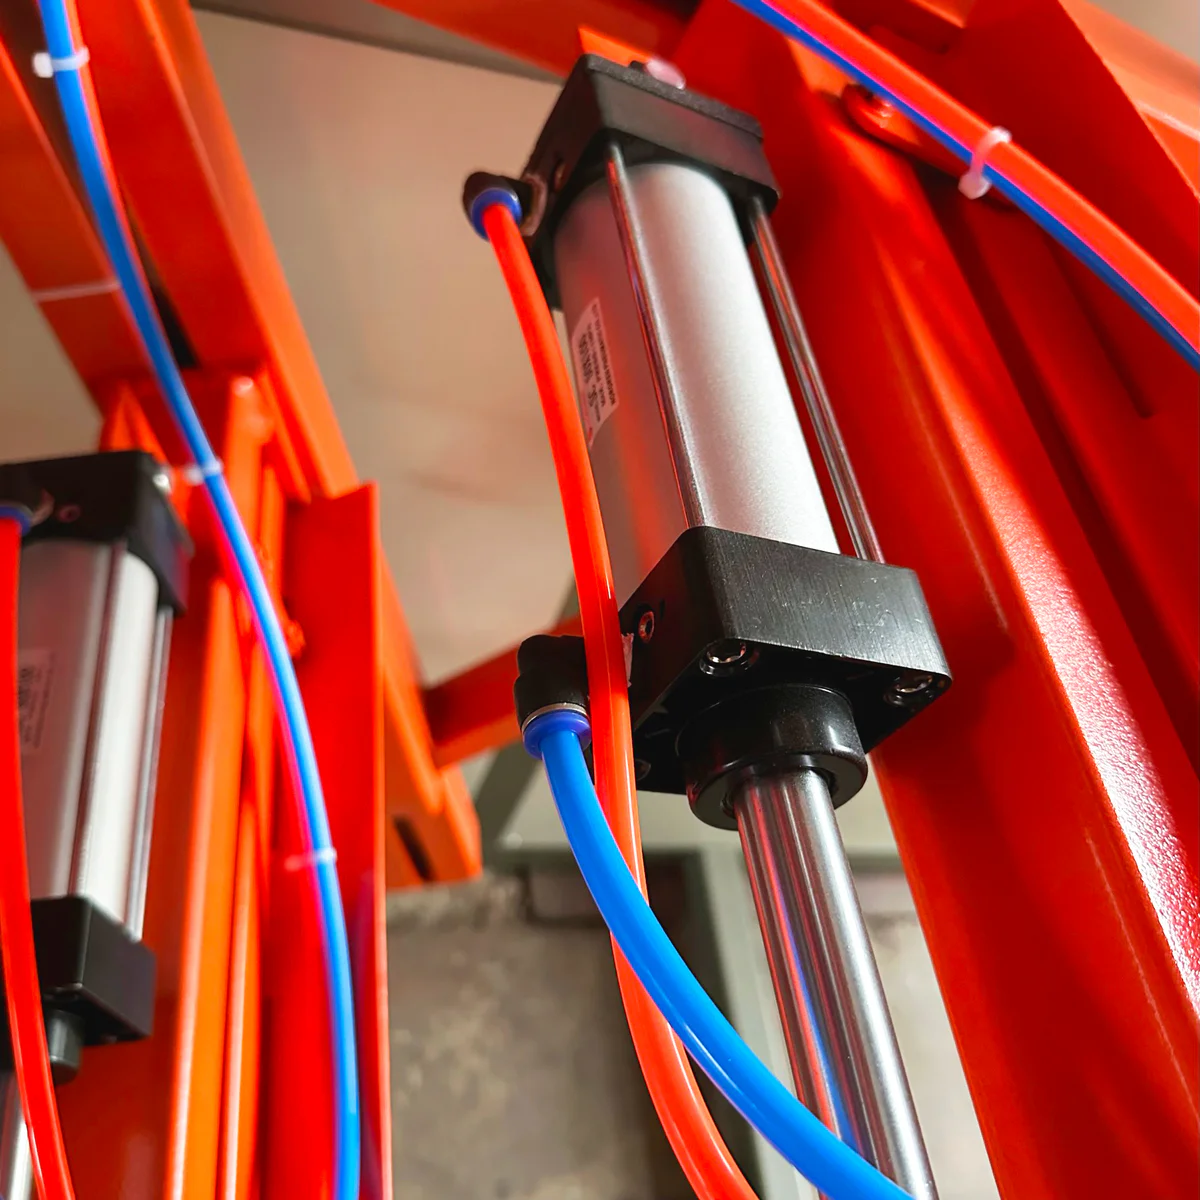
Not Every Coiling Problem Starts In The Coiler
The coiler is the last machine, so it shows every fault the line sends it. Before you change a winding setting, walk the pipe from the extruder to the drum and rule these out.
-
Unstable Haul-Off Speed
The coiler follows a speed that keeps moving.
-
Insufficient Pipe Cooling
Warm pipe deforms under normal tension.
-
Pipe OD Variation
The traverse pitch is right for a pipe you are not making.
-
Wall Thickness Variation
Stiffness changes along the pipe, so tension is never right.
-
Irregular Pipe Entry
Pipe reaching the guide off center builds up on one side.
-
Unstable Line Speed Signal
A noisy reference makes the coiler hunt.
Troubleshoot by following the pipe from the extruder into the finished coil. Adjusting the winding machine on its own fixes the symptom for a shift and the problem comes back.
Upgrade Manual Coiling Without Replacing The Line
If your extruder, cooling tanks and haul-off are still doing their job, there is no reason to touch them. The end of the line can be upgraded on its own. An automatic coiler is integrated with what you already run, and the manual cutting, coil change, strapping and lifting go away with it.
Three people at the end of the line, every coil.
Same extruder, same haul-off. The rest runs on its own.
Most upgrades are planned from photos, a layout sketch and your production numbers. A site visit is rarely needed before the first proposal.
What We Check Before The Upgrade
Production Speed
Your maximum line speed and the coil lengths you need. Together they set the cycle time the new coiler has to keep up with.
Existing Interface
Haul-off signals, line controls and how your current end-of-line equipment is connected, so the coiler follows the line instead of fighting it.
Available Space
Pipe path, where the machine can sit and how much floor is free for the coiling system and, if needed, a buffer.
Required Automation
Which of automatic cutting, station change, strapping, unloading and buffering you actually want, and which you can leave for a second phase.
Send photos of the current line, a layout sketch, your pipe range and production speed. That is enough for us to evaluate the upgrade configuration and come back with a proposal.
Built For Stable Coiling And Continuous Production
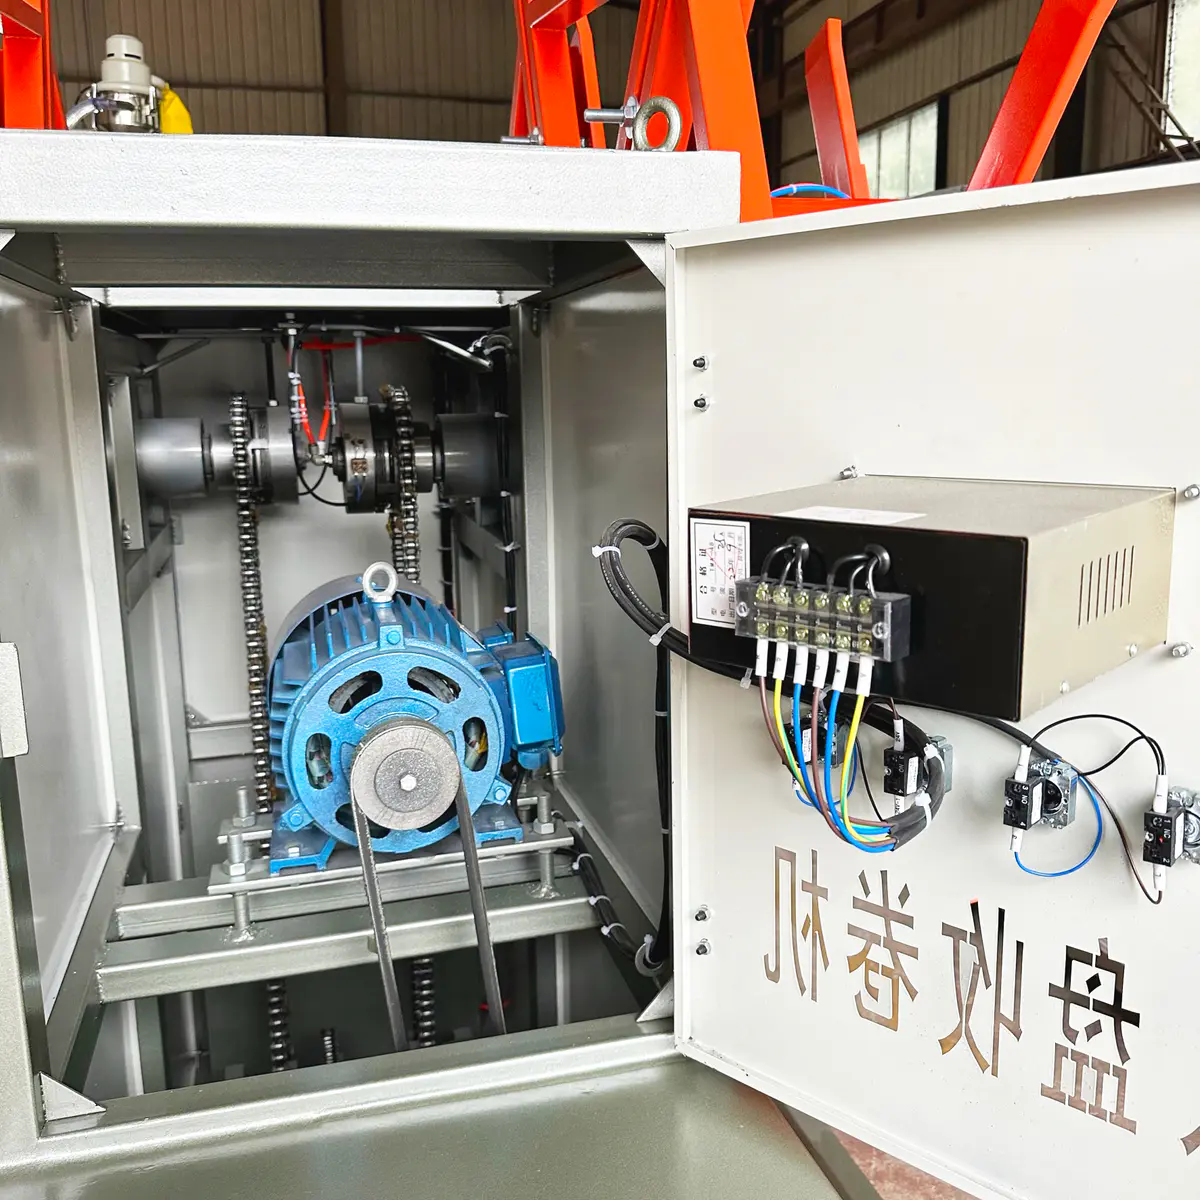
From frame fabrication and winding station assembly through the traverse system, tension control, cutting, strapping and electrical integration, your coiler is built around the pipe range, coil format and automation level you specified. Then the complete machine runs on the test floor before it is packed. These are the stages, so you can judge the factory on what is actually made and tested here.
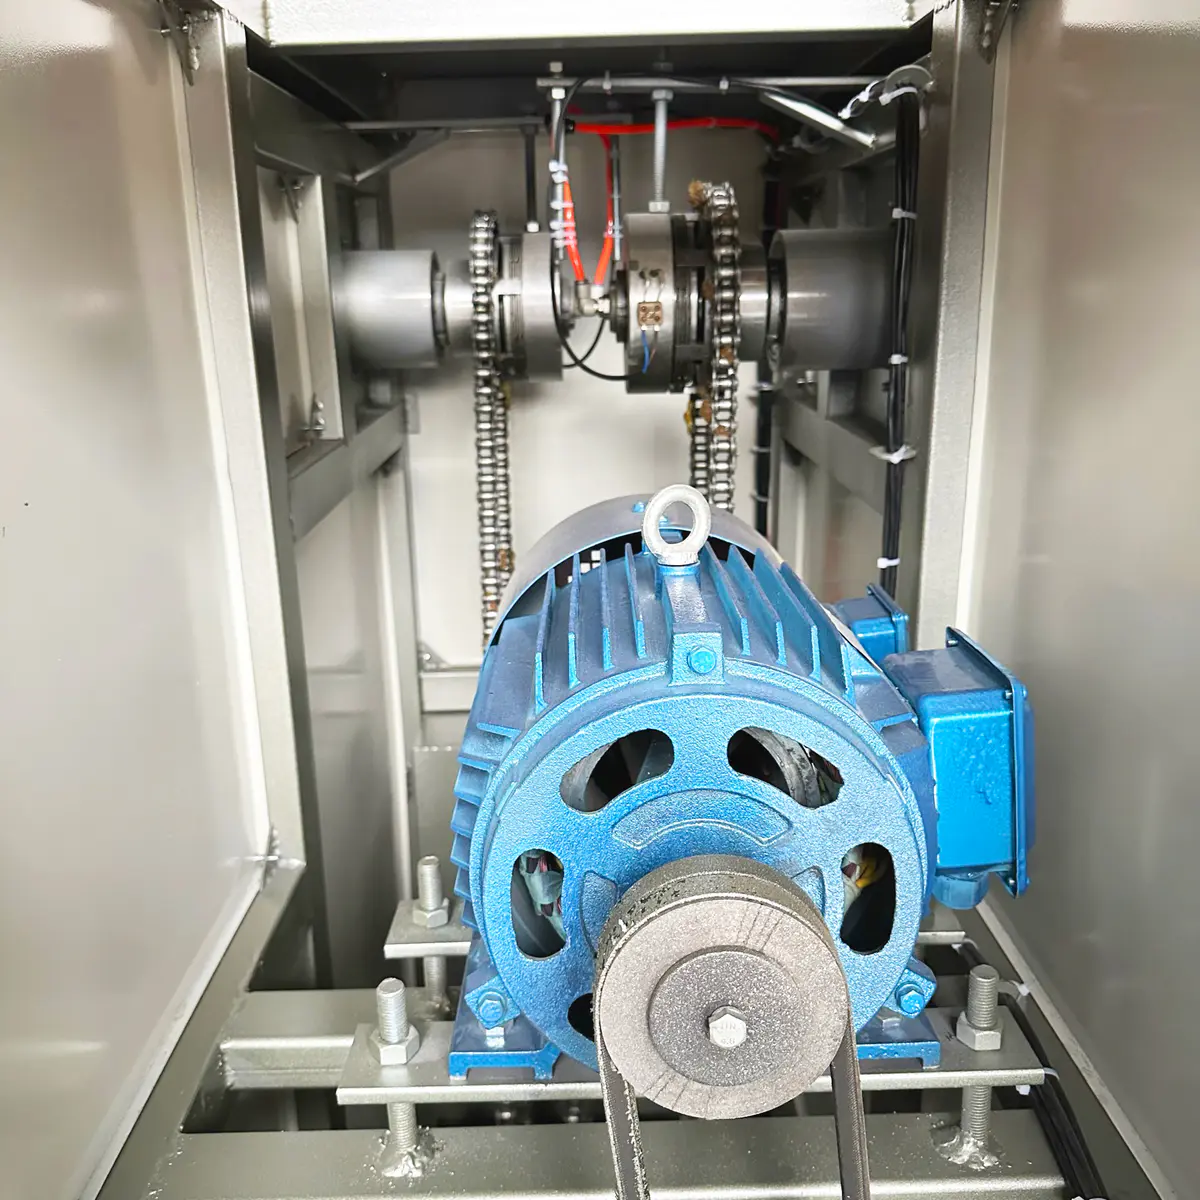
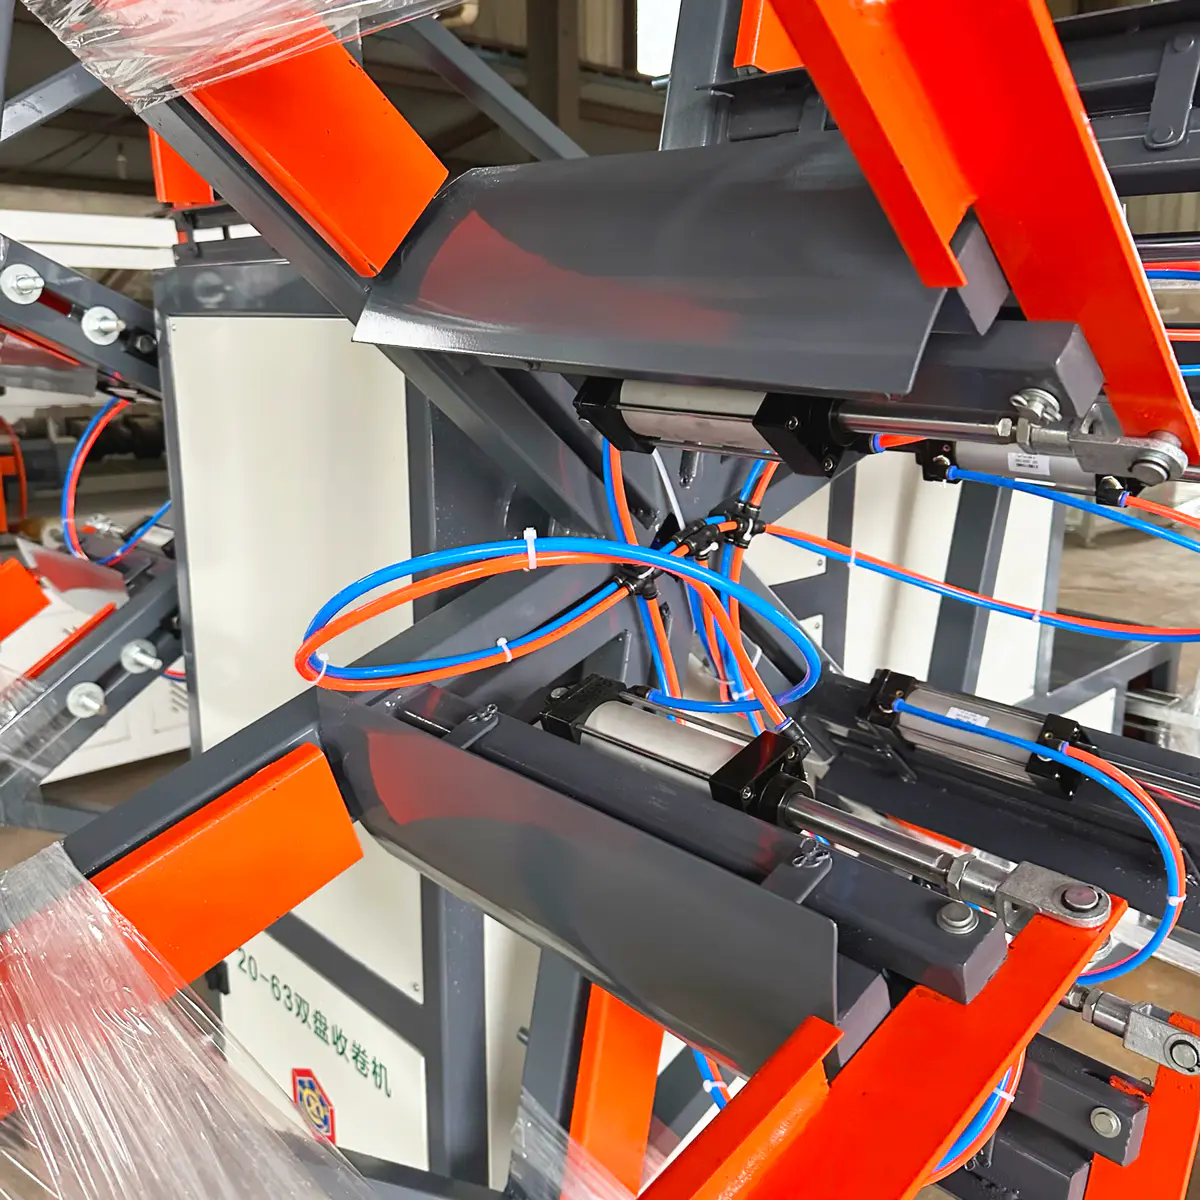
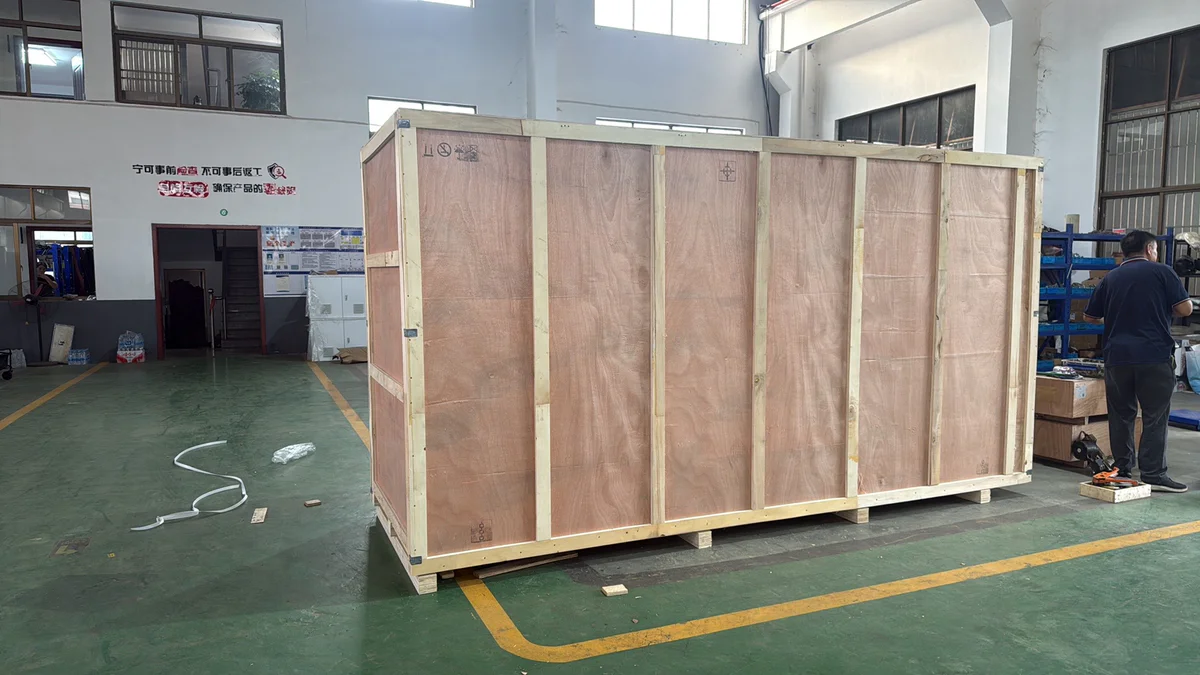
Swipe sideways for all twelve stages
Want to see your own coiler during the build? We send progress photos at the stages that matter, and you are welcome to visit the factory or join a video walkthrough of the running test before shipment.
What We Inspect Before Delivery
The coiler is tested against the production requirements you agreed, not against a generic checklist. That means the machine itself, the winding stability, the finished coil and the whole automatic sequence, end to end. Seven checks, every one recorded before the machine is packed.
Hover a card on desktop for the detail. Swipe through them on a phone.
Line Synchronization
Speed following is checked through normal running, ramp up and ramp down, so the coiler stays coordinated with the line upstream instead of only at one steady speed.
Winding And Tension
Winding stability as the coil grows, tension response, and how the pipe behaves during station change.
Coil Dimensions
Finished coil ID, OD and width measured against the coil spec you signed off.
Length And Cutting
Finished coil length verified, and the cut confirmed at the right point in the automatic cycle.
Layer And Pipe Condition
Layer arrangement, edge alignment and coil shape, plus the pipe itself for marks, kinking, flattening or deformation you would reject.
Automatic Functions
The full specified sequence is run: cutting, station change, strapping and unloading, whichever of these your machine includes.
Repeat Production
Several consecutive coils, not one good sample, to confirm the same result holds from cycle to cycle.
Swipe sideways for all seven checks
You can witness the acceptance run in person or by video. Either way you receive the recorded coil measurements and the test sheet before the machine leaves the factory.
Accept The Machine By The Finished Coil
Sign off on what you agreed: pipe specification, coil dimensions, production speed and the automation functions on the order. The machine has to complete the full winding, cutting, coil change and handling sequence while turning out coils that meet the agreed length, geometry and pipe condition. A machine that runs is not the test. A machine that produces your coil is.
Where sample pipe or equivalent test material is available, acceptance runs through consecutive production cycles rather than a single no-load demonstration. The criteria are confirmed in writing before the test starts, so both sides are judging the same production conditions and the same finished coil.
Acceptance Is Measured Against
- Agreed pipe specification
- Agreed coil ID, OD, width and length
- Agreed production speed
- Automation functions on the order
Acceptance can be witnessed on site or by live video, with the measured coil results sent to you the same day.
Pipe Winding Machine FAQ
The questions buyers ask most before they send coil specs. If yours is not here, send it to Maggie and you get a direct answer, not a brochure.
01
How do I choose the correct pipe winding machine?
Start with your pipe material, OD, wall thickness or SDR, maximum line speed, required length per coil, coil ID, maximum coil OD and coil width. Those numbers decide the winding range, station configuration, tension control, traverse system and how much automation the machine needs. Send them and the configuration follows from them.
02
How should I determine the correct coil inner diameter?
From the pipe, not from the pallet. Coil ID is set by pipe OD, wall thickness, material flexibility, pipe temperature at the coiler and the bending condition you can accept. A smaller coil saves packaging space, but a winding diameter that is too small raises ovality, flattening, kinking and coil set. Send your pipe range and the ID your customer wants and we tell you whether it winds safely.
03
Can the coiler produce different coil lengths and sizes?
Yes, as long as the machine is configured for the whole range up front. Coil length is normally changed on the control panel. Changes to coil ID, width, pipe diameter or strap position need mechanical, motorized or recipe based adjustment depending on the configuration you order. If you run many formats, decide the adjustment method before the machine is built.
04
When should I choose a double station coiler?
When coil changes are frequent and you want the extruder to keep running while the finished coil is cut, strapped and unloaded. The faster your line and the shorter your coils, the more a continuous station change matters. At moderate speeds with long coils, a single station machine and a good operator are often enough.
05
Does every automatic coiling line need a buffer or accumulator?
No. A buffer is only needed when the coiler cannot finish cutting, transfer or station change without briefly stopping pipe intake. Whether that happens on your line depends on line speed, coil length, changeover time and the coiler configuration. We work it out from your cycle time rather than adding a buffer to every quote.
06
How is pipe tension controlled as the coil diameter increases?
The winding condition changes with every turn as the coil grows, so one fixed setting never works for a whole coil. The coiler coordinates winding speed, tension feedback and traverse movement continuously, so the pipe is neither pulled too tight in the early layers nor wound loose in the last ones.
07
What causes crossed layers or uneven coil width?
Usually one of five things: a traverse pitch that does not match the pipe OD, traverse and winding speed out of step, a misaligned guide, unstable tension, or pipe entering the guide off center. Check the finished coil together with the traverse and tension settings. Adjusting winding speed on its own rarely fixes it.
08
Can cutting, strapping and unloading be integrated into the coiler?
Yes, to the level you specify. A fully automatic system combines length measurement, cutting, station change, strapping and unloading into one sequence. Define which functions you need before the configuration is finalized. Adding them later is possible but costs more than including them in the original build.
09
Can an automatic coiler be added to my existing extrusion line?
In most cases, yes. We review your existing haul-off, line speed, control signals, pipe path, floor space and current cutting or winding method first, then configure the coiler around what you already run. Your extruder, cooling and haul-off stay where they are. Photos, a layout sketch and your production numbers are enough to start.
10
What should be checked during machine acceptance?
Line speed synchronization, winding tension, coil length, coil ID, OD and width, layer arrangement, pipe condition, and the cutting, station change, strapping and unloading functions on your order. Run several consecutive coils to prove repeatability. One good sample or a no-load run proves nothing about your production.
Still deciding between configurations? Send your pipe range, coil spec and line speed. Maggie replies with a configuration and a quote within 24 hours.
Send Your Coil Specs To Maggie
Pipe OD and wall, coil ID and OD, length per coil, line speed. Four lines is enough to get a real coiler configuration back, not a price list.

Maggie
Sales, QTech Machinery
Replies within 24 hoursYour message reaches me directly. If your coil problem is upstream cooling or haul-off speed rather than the coiler, I will tell you that before you spend anything on a new machine.
What Comes Back To You
- Station configuration sized to your line speed and coil cycle
- Winding range, coil ID and OD limits checked against your pipe
- Cutting, strapping, unloading and buffer, only where you need them
- Run tested with consecutive coils before it is packed
Maggie
Sales, Zhangjiagang Qinxiang Machinery Co., Ltd.
Get Your Coiling Configuration
Four fields. Fields marked are required, and nothing else is asked of you.