How Does a Lab Extruder Work?
A lab extruder is an essential tool in research, development, and small-scale production across various industries, including polymer science, food processing, pharmaceuticals, and medical device manufacturing. It allows scientists and engineers to experiment with new materials and test prototypes without the need for large-scale industrial equipment. Understanding the inner workings of a lab extruder is crucial for those involved in material development and process optimization.
In this article, we will explore the basic components of a lab extruder, how it operates, the step-by-step process of extrusion, and how parameters like temperature, pressure, and screw design influence the material being processed.
What Is a Lab Extruder?
Before delving into how a lab extruder works, it's important to understand what it is. A lab extruder is a compact version of an industrial extruder used to process materials such as polymers, plastics, rubbers, food ingredients, and even pharmaceuticals. It is typically employed in laboratory settings where small-scale, high-precision experiments are conducted to optimize material properties, develop prototypes, and test new formulations.
Lab extruders are designed to handle relatively small volumes of materials, typically in the range of a few kilograms per hour, making them ideal for R&D purposes. They are versatile machines capable of processing a wide range of materials, including thermoplastics, thermosets, and biodegradable polymers, and are used in applications ranging from polymer compounding to food product development.
The Basic Components of a Lab Extruder

To understand how a lab extruder works, it's necessary to first familiarize yourself with its main components. These components work in unison to process raw materials and transform them into a desired shape or form. Here are the key parts of a typical lab extruder:
1. Feed Hopper
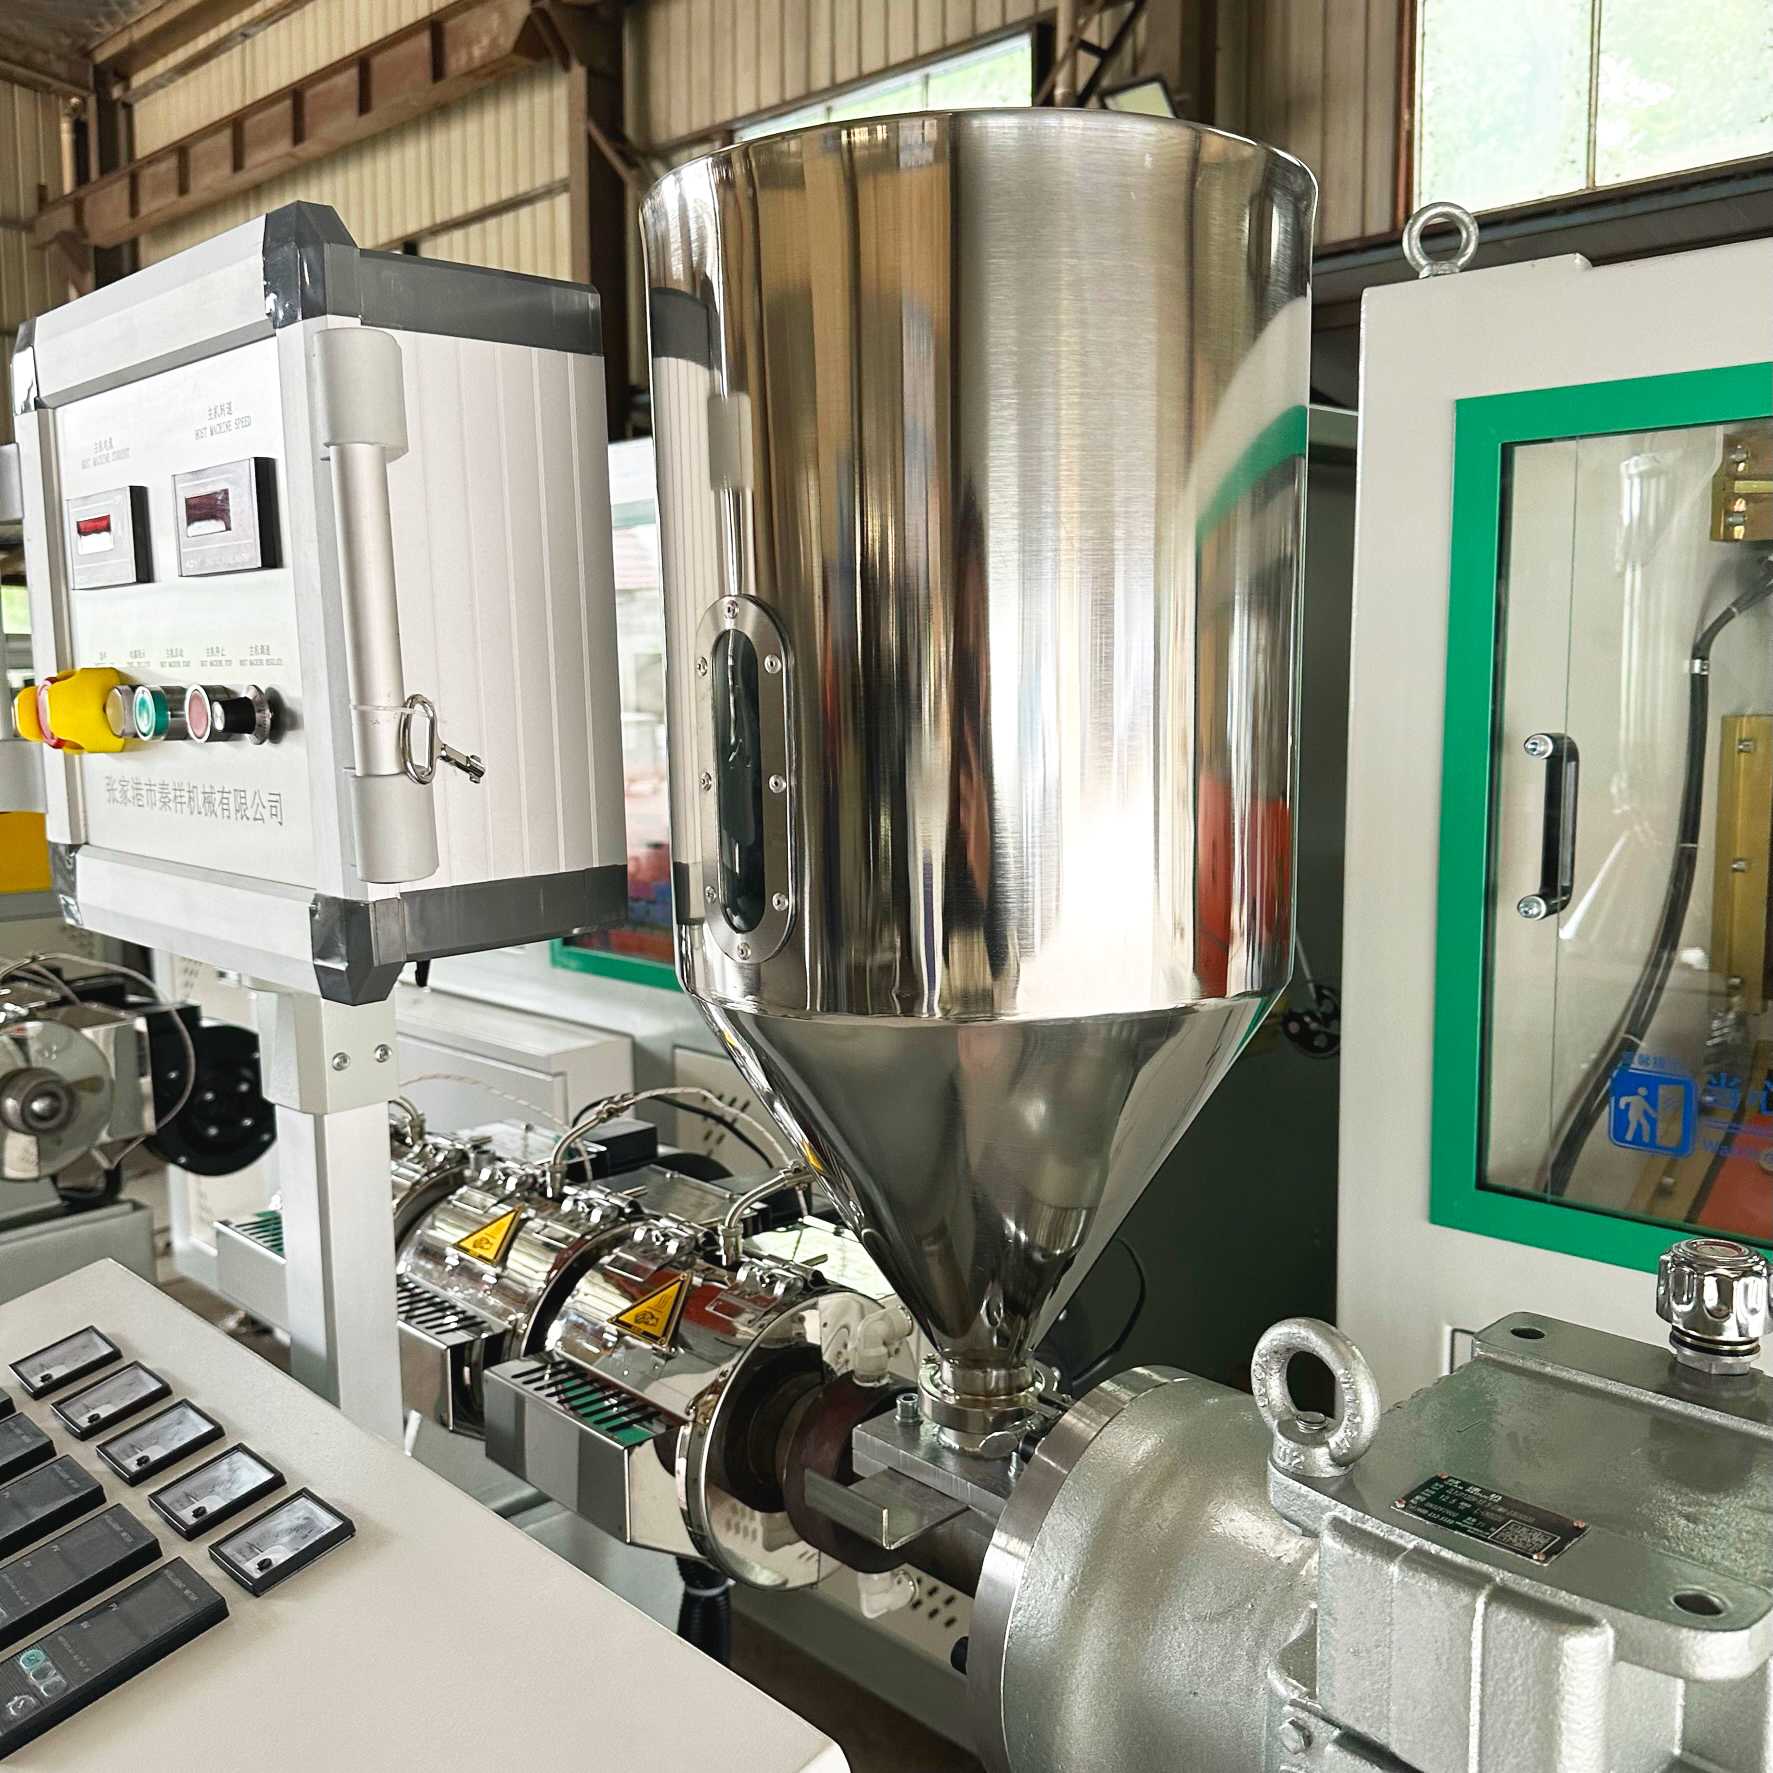
The feed hopper is where the raw material is introduced into the extruder. The material can be in the form of pellets, powders, or even liquids, depending on the type of material being processed. The hopper ensures that the material is fed into the extruder consistently and at a controlled rate.
2. Screw and Barrel
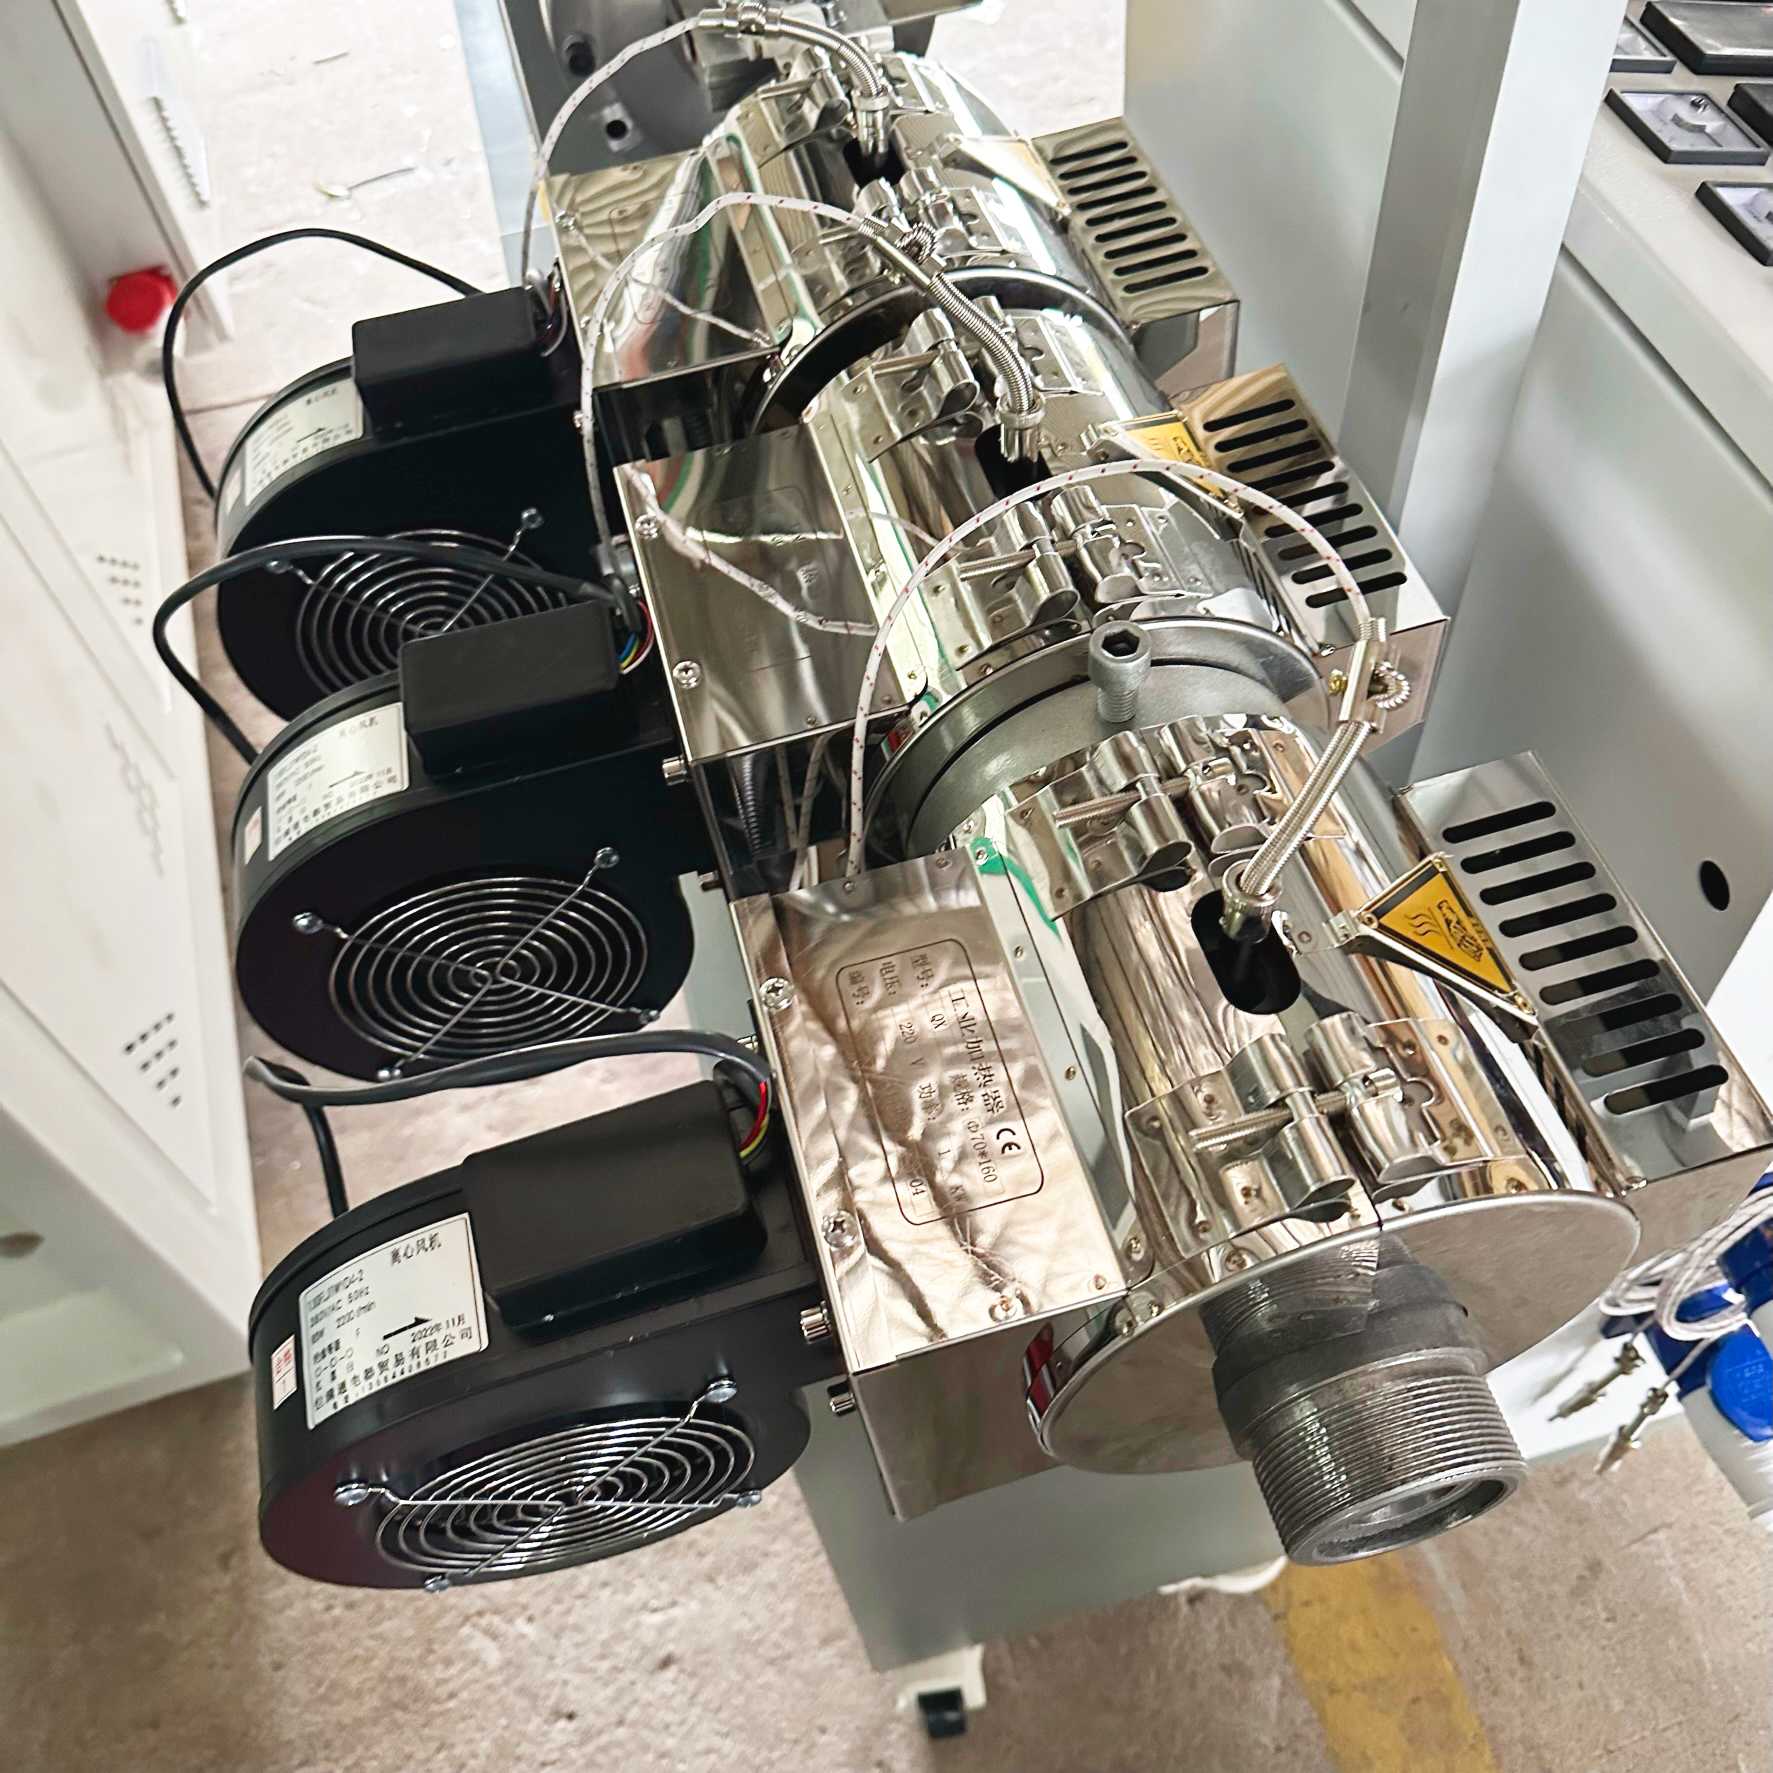
The screw and barrel assembly is the core of the extruder. The screw, often referred to as the "extruder screw," is a rotating helical component that moves the material through the barrel. The barrel is a cylindrical chamber that houses the screw, and its primary function is to guide and contain the material as it is heated and processed.
The screw has several flights (or sections), which are designed to perform different functions, such as conveying, melting, mixing, and pressurizing the material. As the screw rotates, it applies mechanical energy to the material, causing it to heat up and flow toward the die.
3. Heaters and Temperature Control System

A key feature of lab extruders is their ability to control the temperature of the material during processing. Electric heaters are typically placed around the barrel to maintain a consistent temperature. The heat softens or melts the material, making it easier to manipulate and shape.
Temperature sensors and controllers are used to monitor and adjust the temperature at different points along the barrel. Maintaining the right temperature is critical to achieving the desired material properties, as different materials have specific temperature requirements for optimal processing.
4. Die
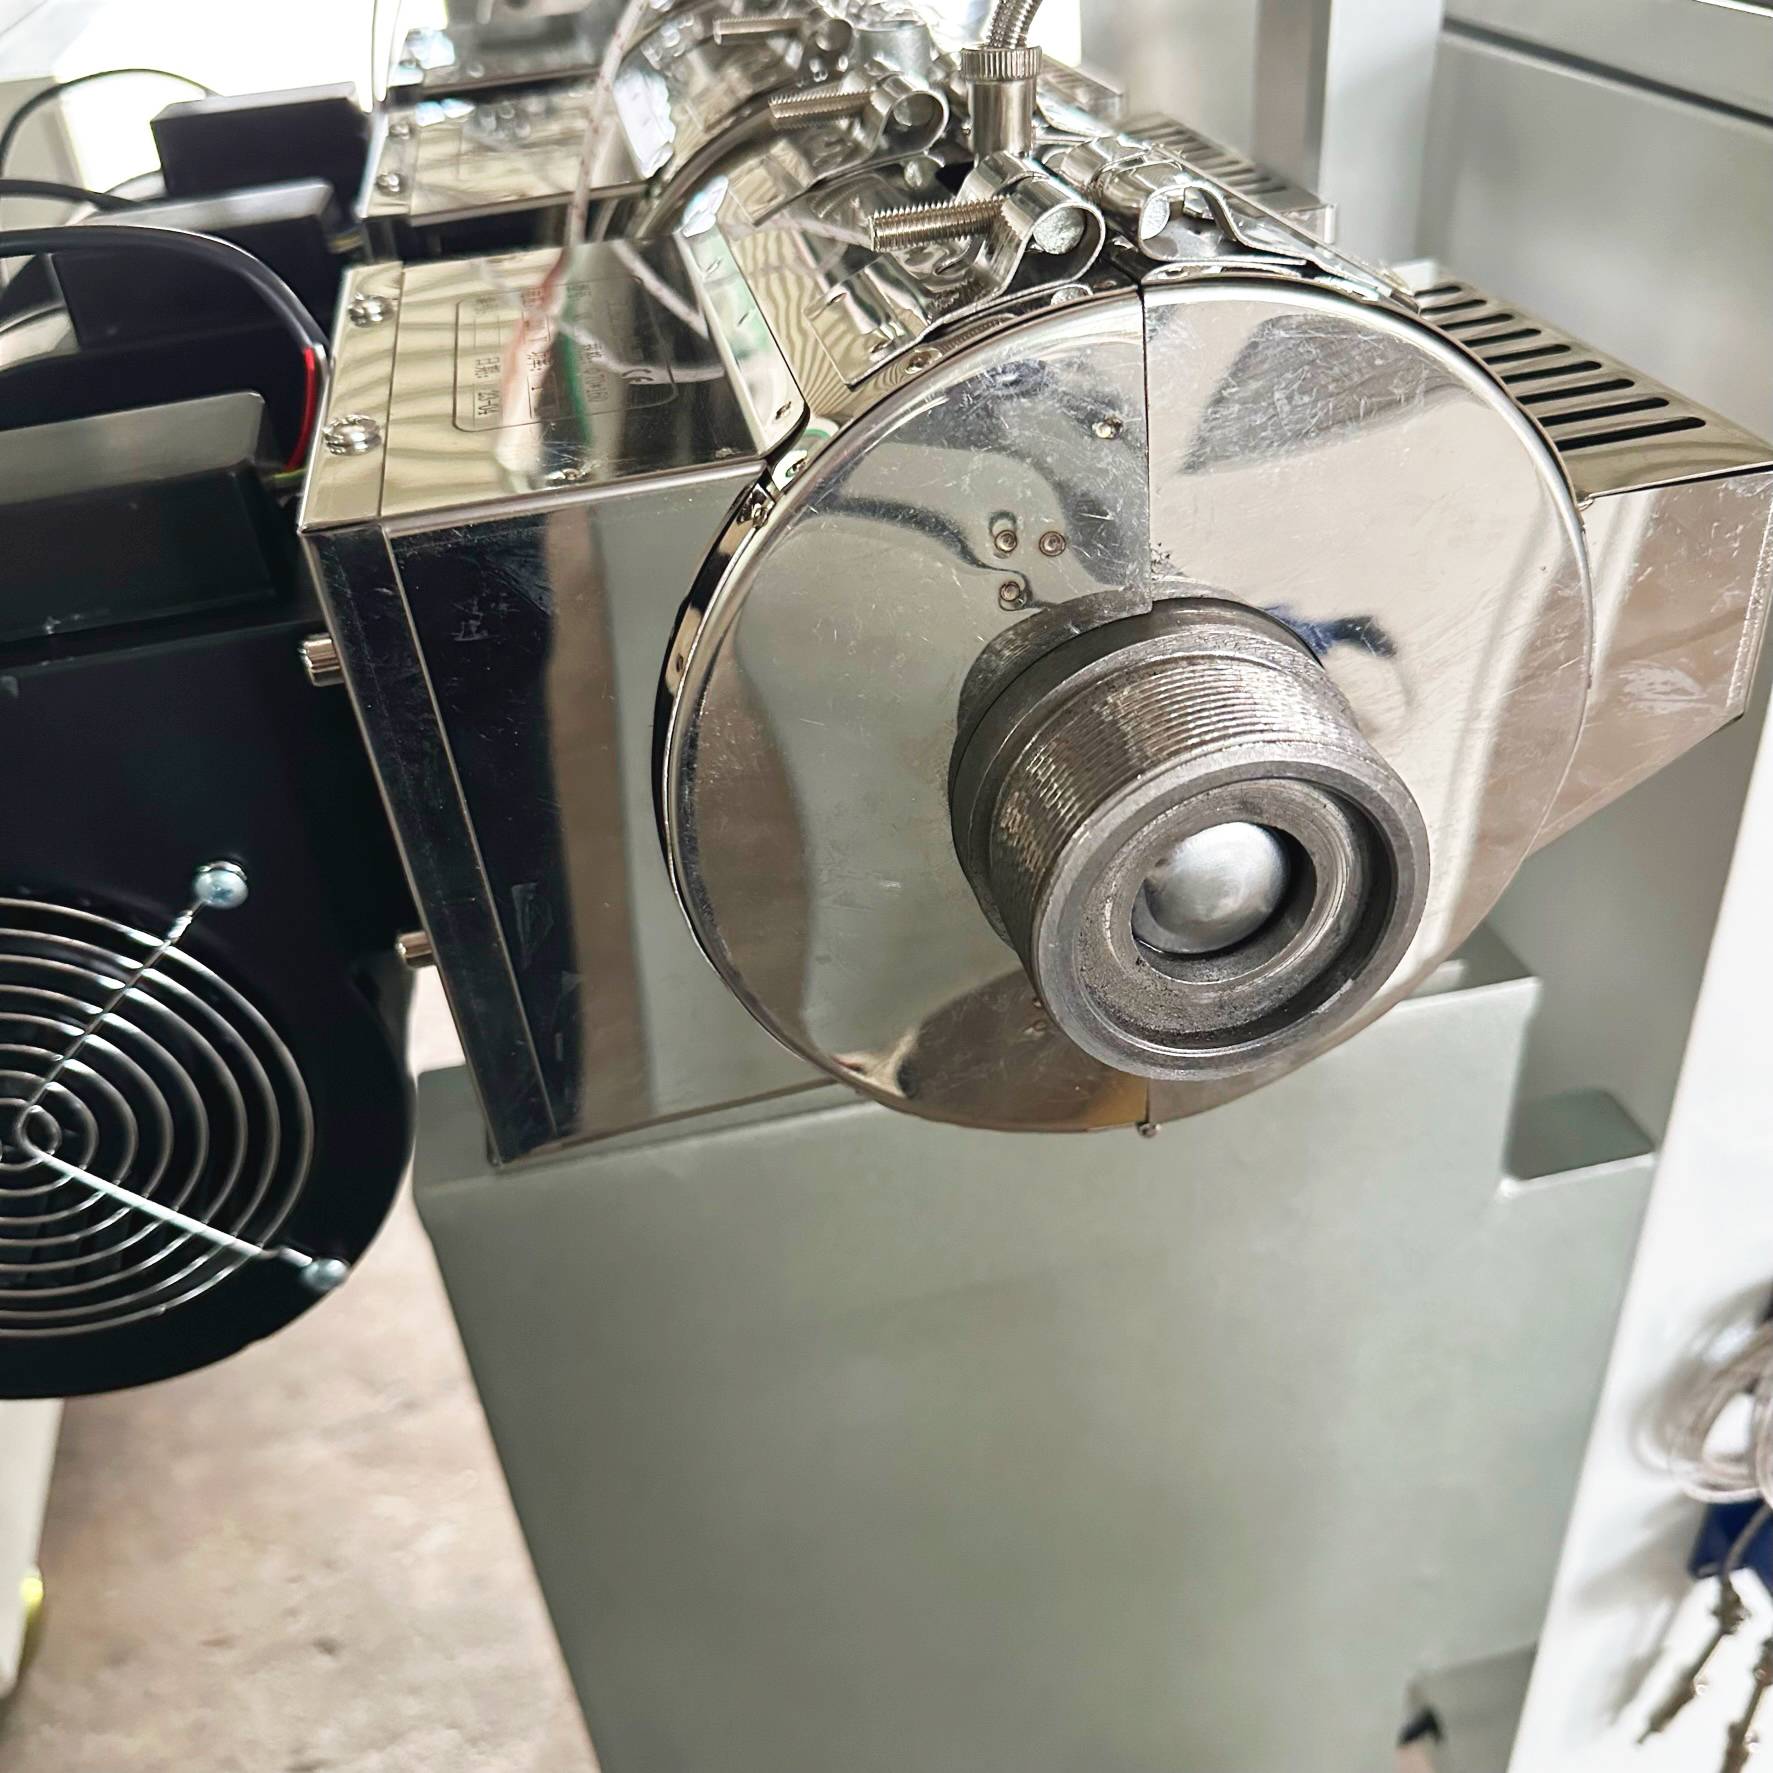
The die is the component through which the material exits the extruder. It is typically made of metal and has a specific shape or form that dictates the final product's geometry. Dies come in many different shapes, such as sheets, films, tubes, or filaments, depending on the desired output.
In lab extruders, dies can be easily swapped out to experiment with different shapes and sizes. The material is forced through the die under pressure, and its shape is determined by the die's configuration.
5. Motor and Drive System
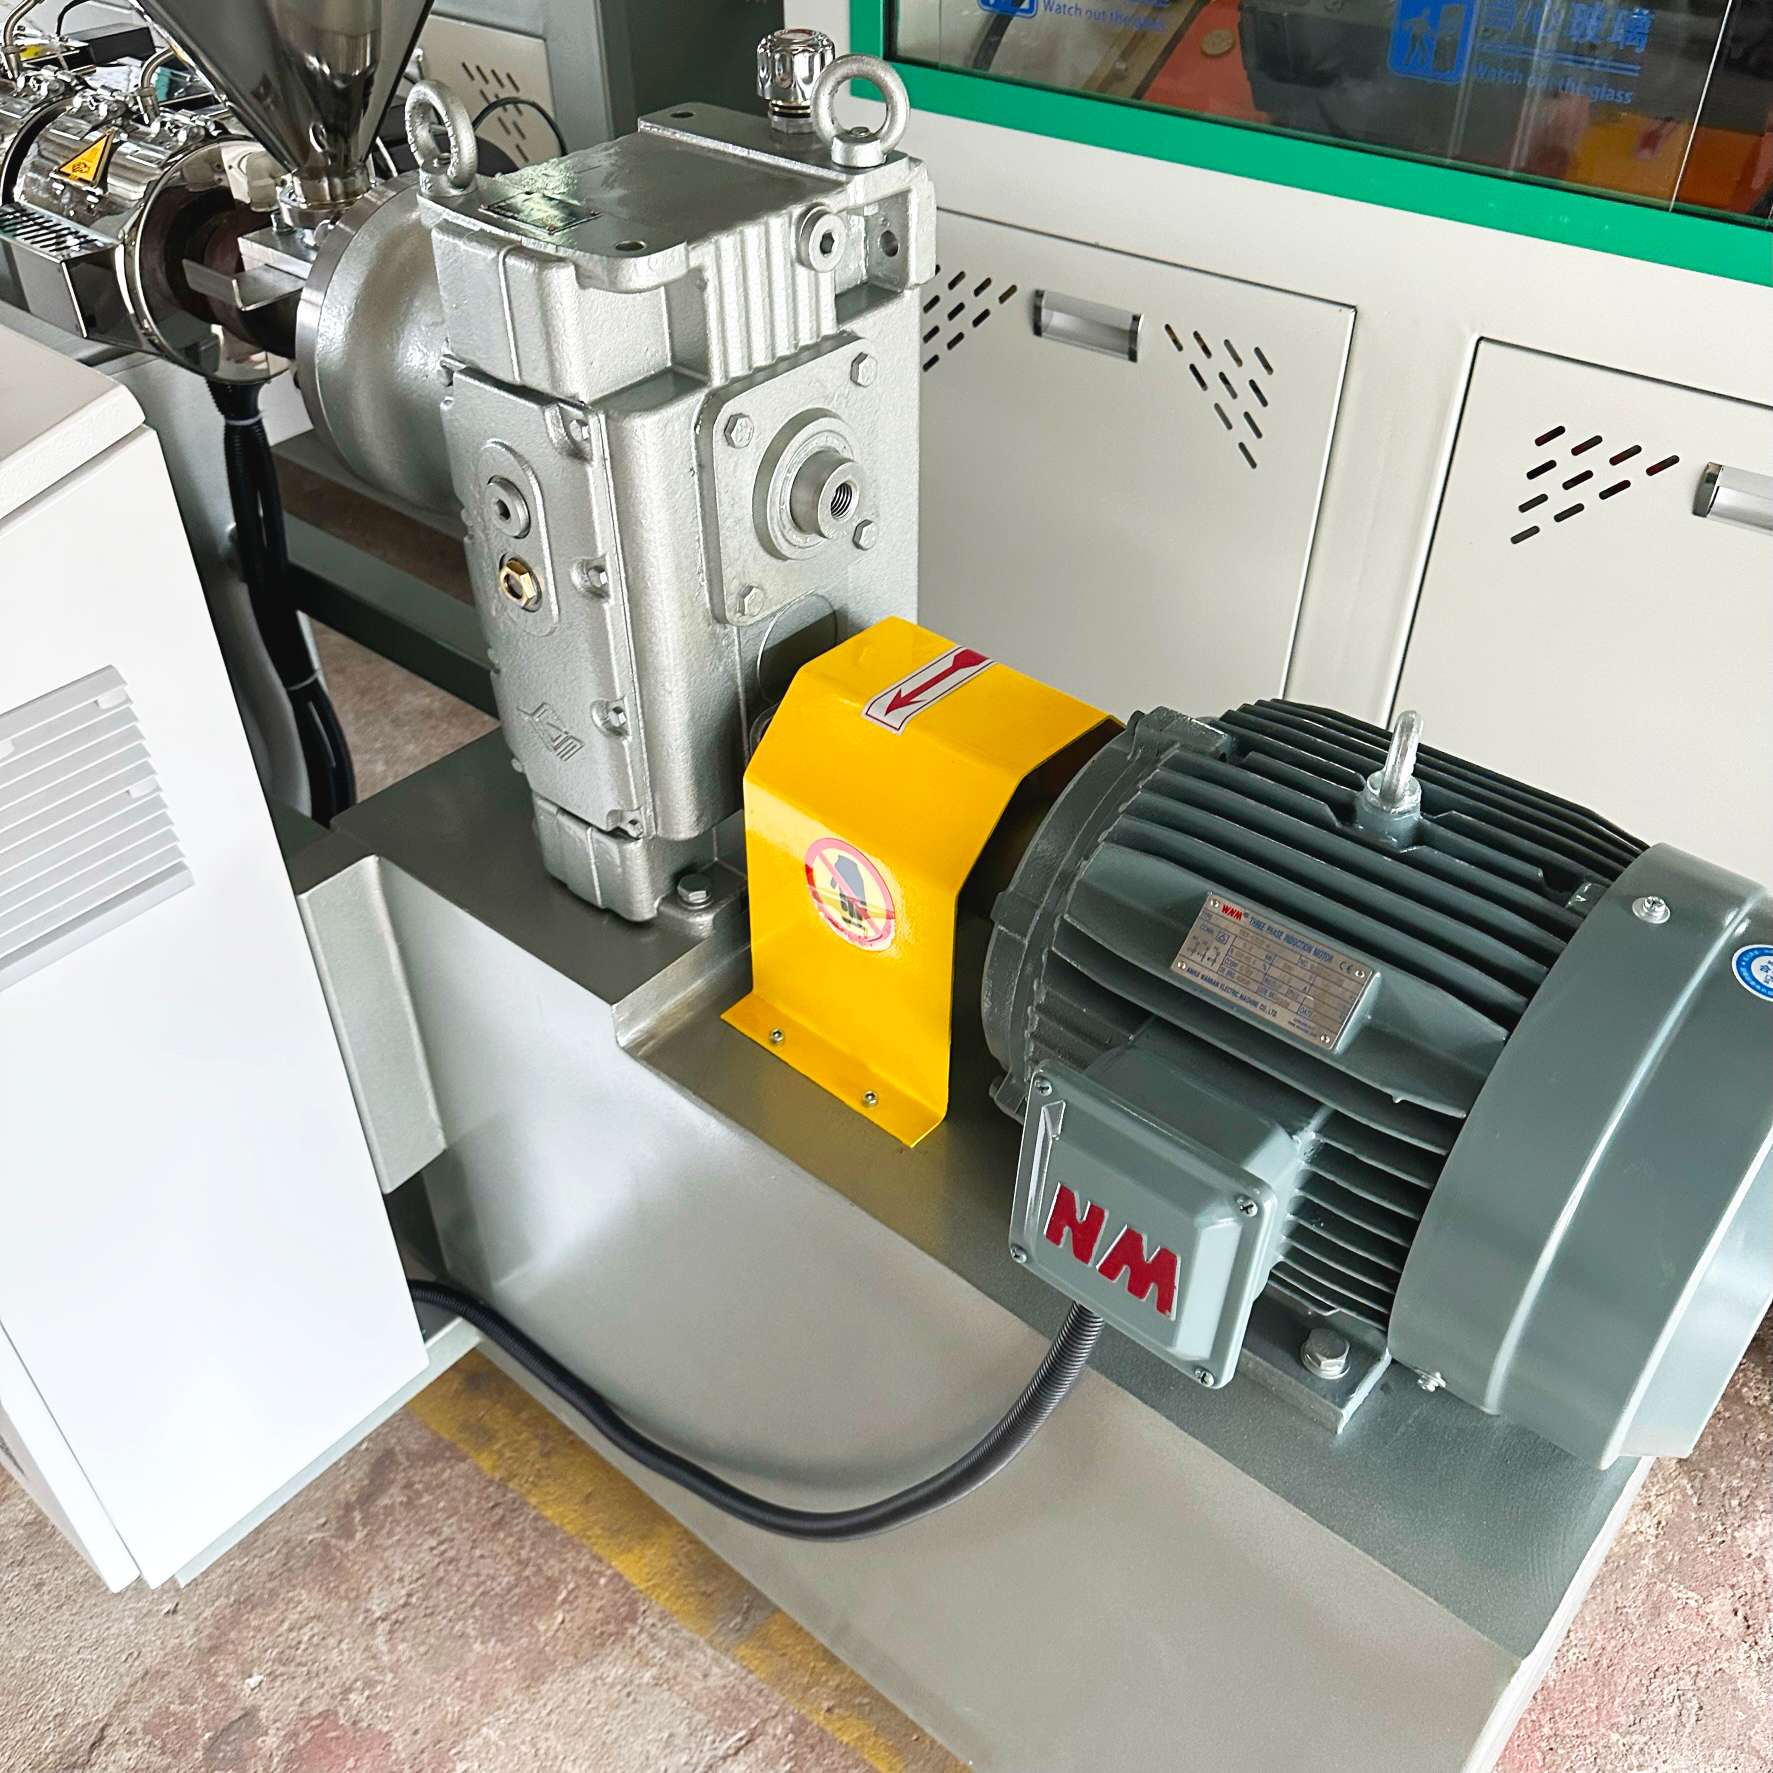
The motor is responsible for rotating the screw and driving the extrusion process. The motor speed can be adjusted to control the screw’s rotational speed, which in turn influences the flow rate of the material. The motor and drive system also provide the necessary torque to overcome the resistance of the material being processed.
6. Control System
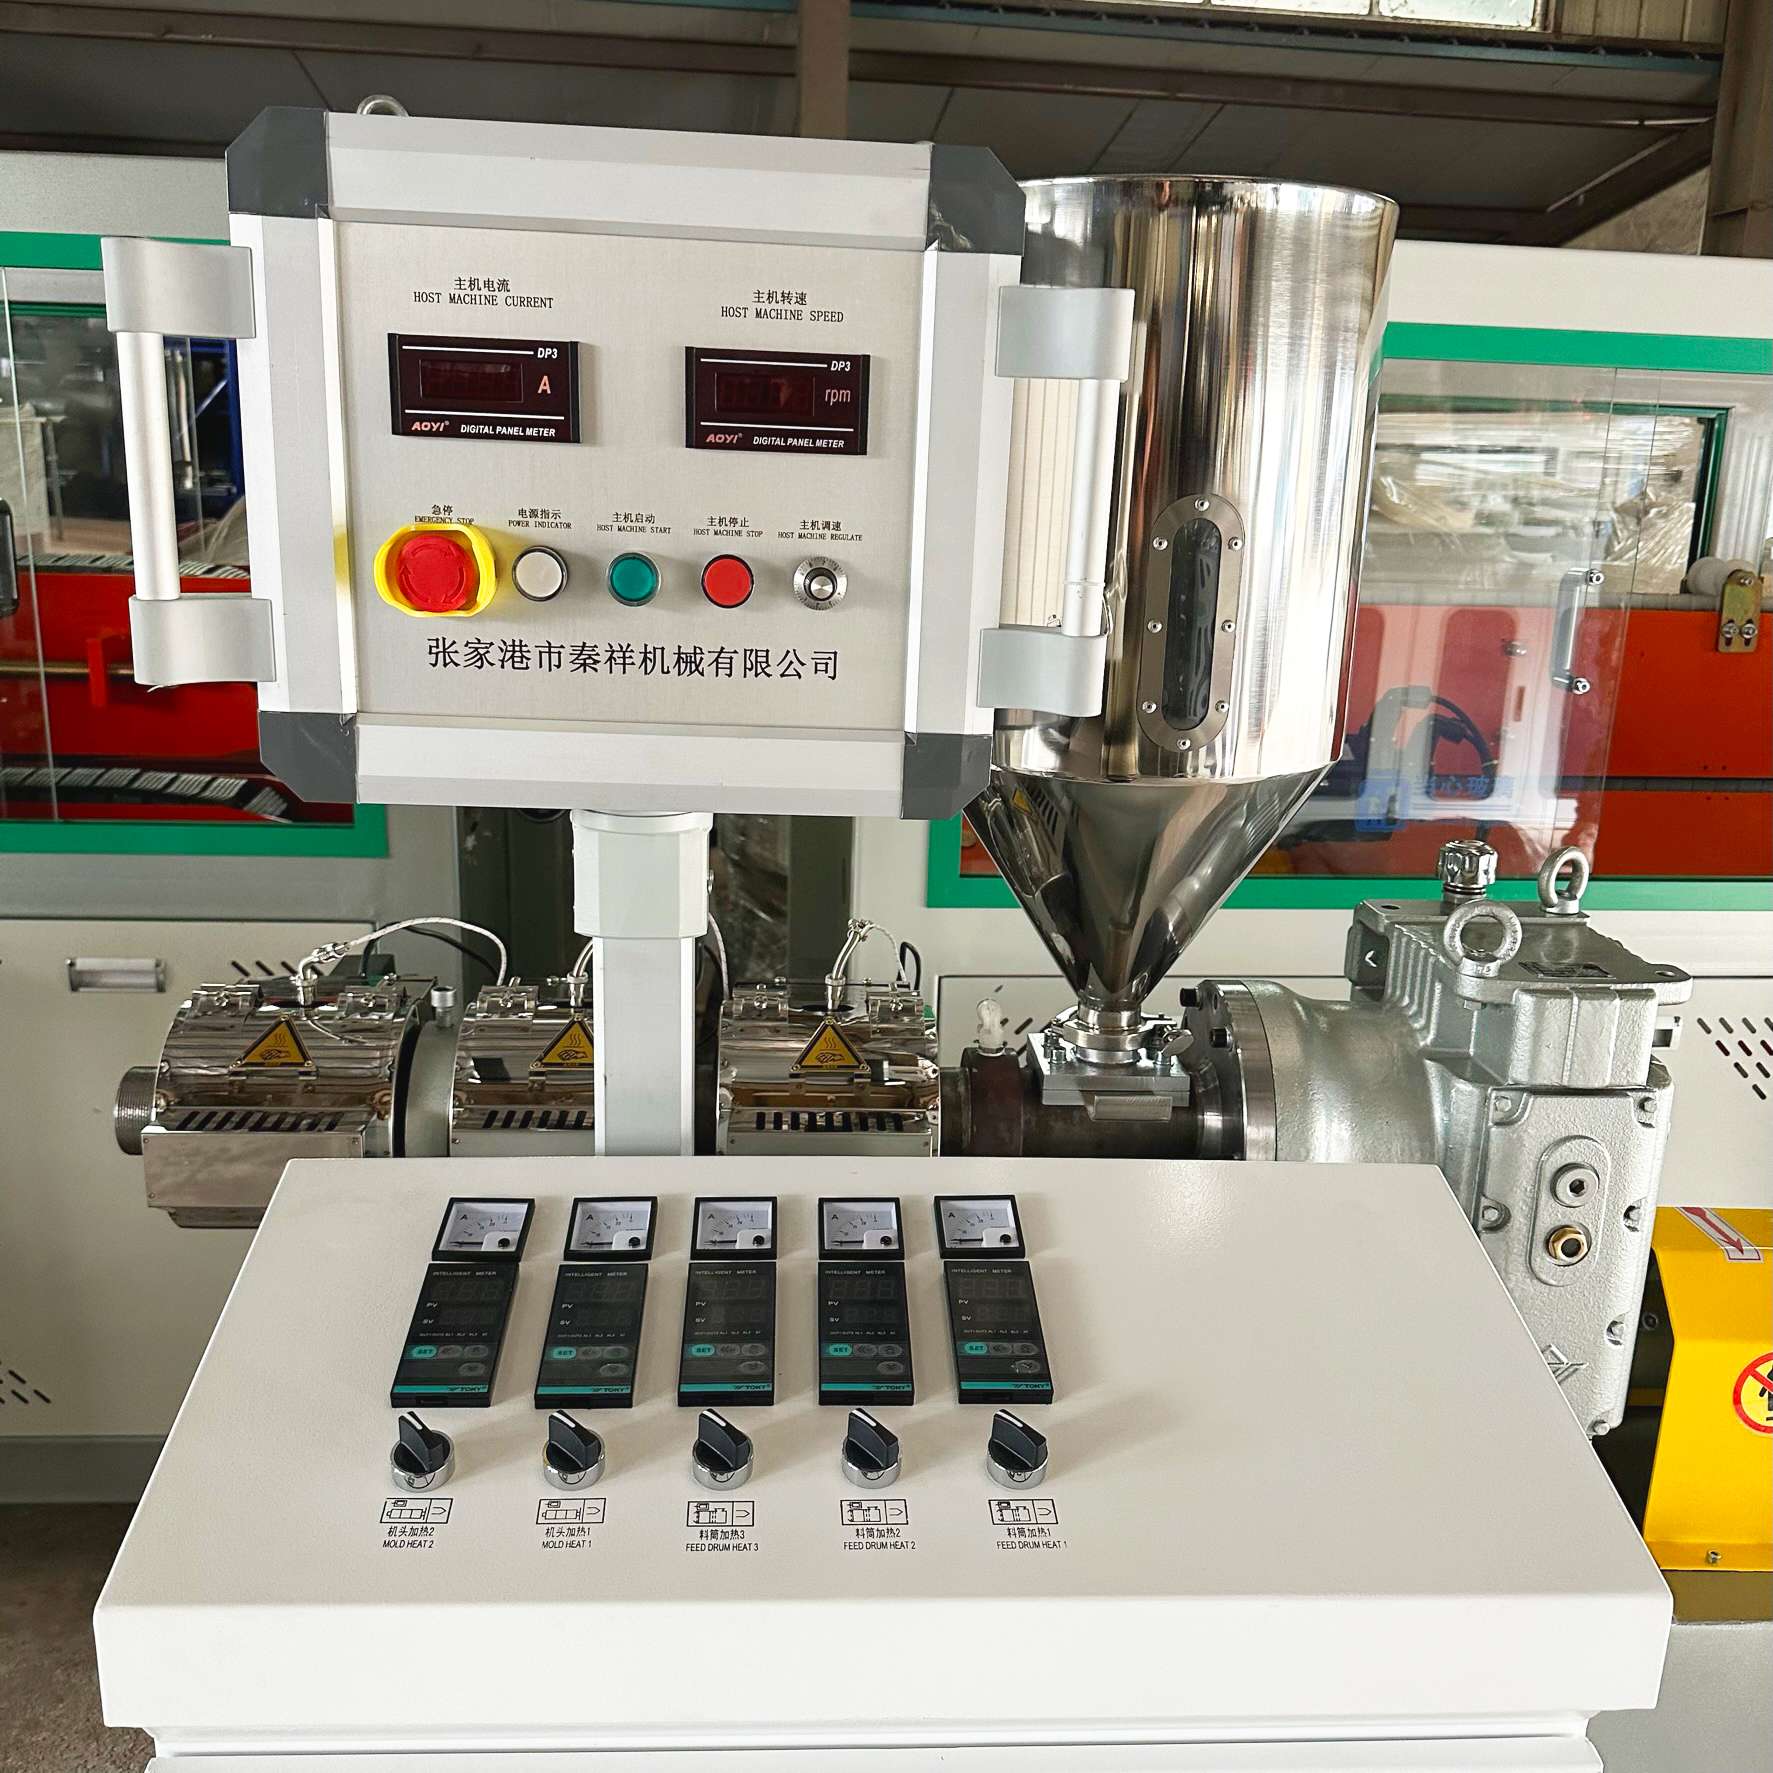
The control system of a lab extruder is responsible for monitoring and adjusting various processing parameters, including temperature, pressure, screw speed, and material flow rate. This system allows the operator to maintain precise control over the extrusion process and make adjustments in real-time to optimize material properties.
The Extrusion Process: Step-by-Step
Now that we’ve outlined the key components, let’s take a closer look at how the extrusion process unfolds inside a lab extruder.
Step 1: Loading the Raw Material
The process begins by loading the raw material into the feed hopper. The material may be in the form of pellets, powders, or flakes, depending on its chemical composition and the desired end product. Once loaded, the material begins to flow into the barrel, where it will be processed.
Step 2: Heating the Material
As the material moves through the barrel, it is exposed to heat via the external heaters. The heating process softens or melts the material, making it more malleable and easier to shape. In some cases, a cooling system may also be used to regulate the temperature and prevent overheating, especially for sensitive materials.
The temperature control system ensures that the material reaches the optimal processing temperature, which varies depending on the material being used. For example, thermoplastics typically require temperatures between 150°C and 250°C, while food ingredients may need a lower processing temperature.
Step 3: Conveying and Mixing the Material
Once the material is sufficiently heated, the rotating screw begins to convey it through the barrel. As the screw rotates, it creates shear forces that mix the material, ensuring uniform distribution of heat and pressure. The screw also applies mechanical energy to the material, which helps to further melt and blend it.
In some lab extruders, the screw is designed with different zones, each serving a specific function:
Feed Zone: Where the material is initially loaded into the barrel and conveyed.
Compression Zone: Where the material is heated and compacted, leading to melting.
Metering Zone: Where the material is mixed and homogenized, preparing it for extrusion through the die.
The screw design is critical to the efficiency of the extrusion process, as it determines how well the material is mixed, heated, and conveyed.
Step 4: Shaping the Material
As the material moves toward the die, it has been heated, mixed, and pressurized to the right consistency. The die is where the material takes on its final shape. The pressure within the barrel forces the material through the die, which may have a variety of shapes such as a sheet, film, or tube, depending on the intended application.
The die design is critical because it determines the flow rate and the shape of the extruded material. Lab extruders often come with interchangeable dies, allowing operators to experiment with different forms and geometries.
Step 5: Cooling and Solidification
Once the material exits the die, it is rapidly cooled to solidify its shape. This cooling process can be achieved through air cooling, water baths, or other cooling systems, depending on the material and the desired end product.
For thermoplastic materials, rapid cooling is essential to preserve the material’s shape and prevent it from deforming. In some cases, post-cooling treatments, such as stretching or drawing, may be used to enhance the mechanical properties of the material.
Step 6: Cutting or Collecting the Extrudate
After cooling, the extruded material is typically cut into smaller sections or collected as a continuous strand, depending on the application. In the case of plastic films, the extruded material may be wound onto a roll. For other materials like pellets, the extrudate is often cut into small, uniform pieces for further processing or testing.
Key Parameters That Influence the Extrusion Process
Several factors affect the outcome of the extrusion process. By adjusting these parameters, operators can fine-tune the material properties and achieve the desired results.
1. Temperature Control
The temperature inside the barrel is one of the most important factors in extrusion. Different materials have specific temperature requirements for optimal processing. If the temperature is too high, it may cause degradation or unwanted chemical reactions. Conversely, if the temperature is too low, the material may not flow properly or may remain too rigid to shape.
2. Screw Speed
The screw speed influences the material’s residence time in the barrel, which in turn affects its melting and mixing. Higher screw speeds typically result in faster processing times but can also lead to higher shear forces, which may impact material properties. Adjusting the screw speed allows operators to control the flow rate and achieve the desired texture and consistency.
3. Pressure
The pressure within the barrel is determined by the material’s viscosity, screw speed, and the resistance encountered at the die. High pressure can lead to better mixing and higher-quality extrudates but can also result in excessive wear on the machine. Proper pressure control ensures that the material flows through the system efficiently without causing blockages or damage.
4. Screw Design
The design of the screw is crucial for ensuring proper mixing, heating, and conveying of the material. Different screw designs, such as single screws, twin screws, or co-rotating screws, provide varying degrees of shear and mixing capabilities. The screw design must be tailored to the specific material and the desired end properties.
Conclusion
A lab extruder works by using heat, pressure, and mechanical energy to process raw materials into the desired shapes and forms. By adjusting parameters like temperature, screw speed, and pressure, researchers and manufacturers can fine-tune the extrusion process to
achieve specific material properties. This flexibility makes lab extruders indispensable tools in material science, R&D, and small-scale production across various industries.
Understanding how a lab extruder operates is essential for anyone involved in material development, as it allows them to optimize processes, create prototypes, and test new formulations with precision and control. Whether in the fields of polymer research, food processing, or medical device manufacturing, the lab extruder plays a pivotal role in advancing technology and innovation.


